How to Install Brake Caliper Guide Pin Boot: A Complete Step-by-Step Guide
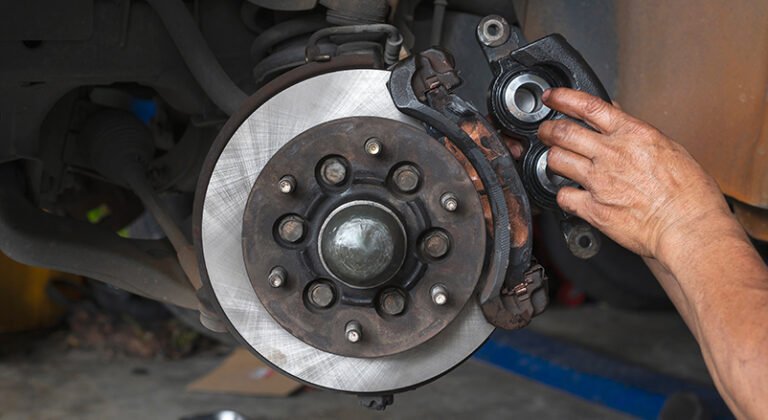
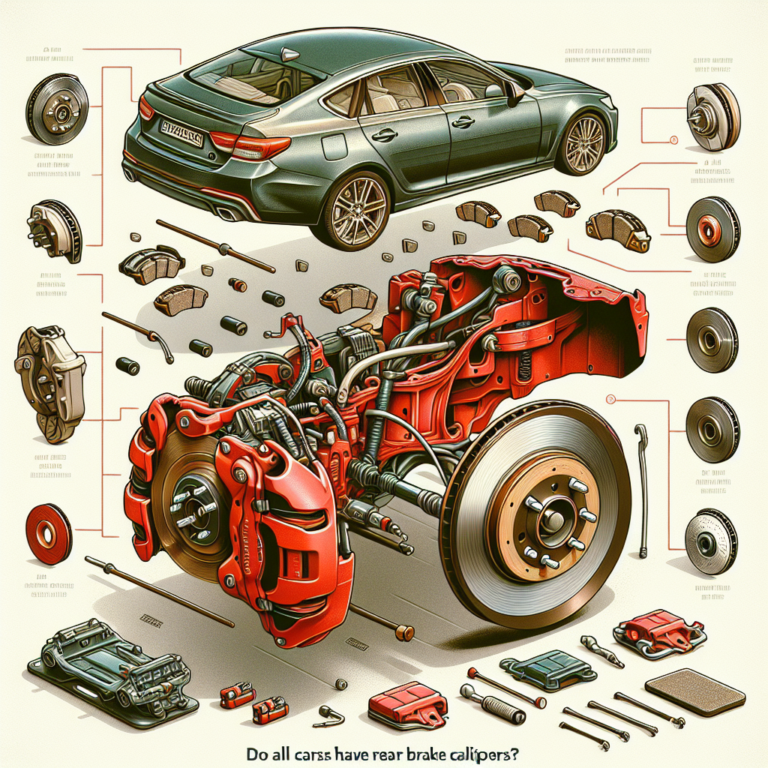
Learning how to install brake caliper guide pin boot is an important skill for basic brake maintenance. The small rubber boot plays a major role because it keeps moisture and road debris away from the sliding caliper pin.
From a professional repair perspective, many brake problems begin with neglected guide pins. A damaged or loose boot can allow rust to form, causing the caliper to move poorly and create uneven braking. A careful installation can help keep your vehicle safe and your brake parts working smoothly.

What Is a Brake Caliper Guide Pin Boot and Why Does It Matter?
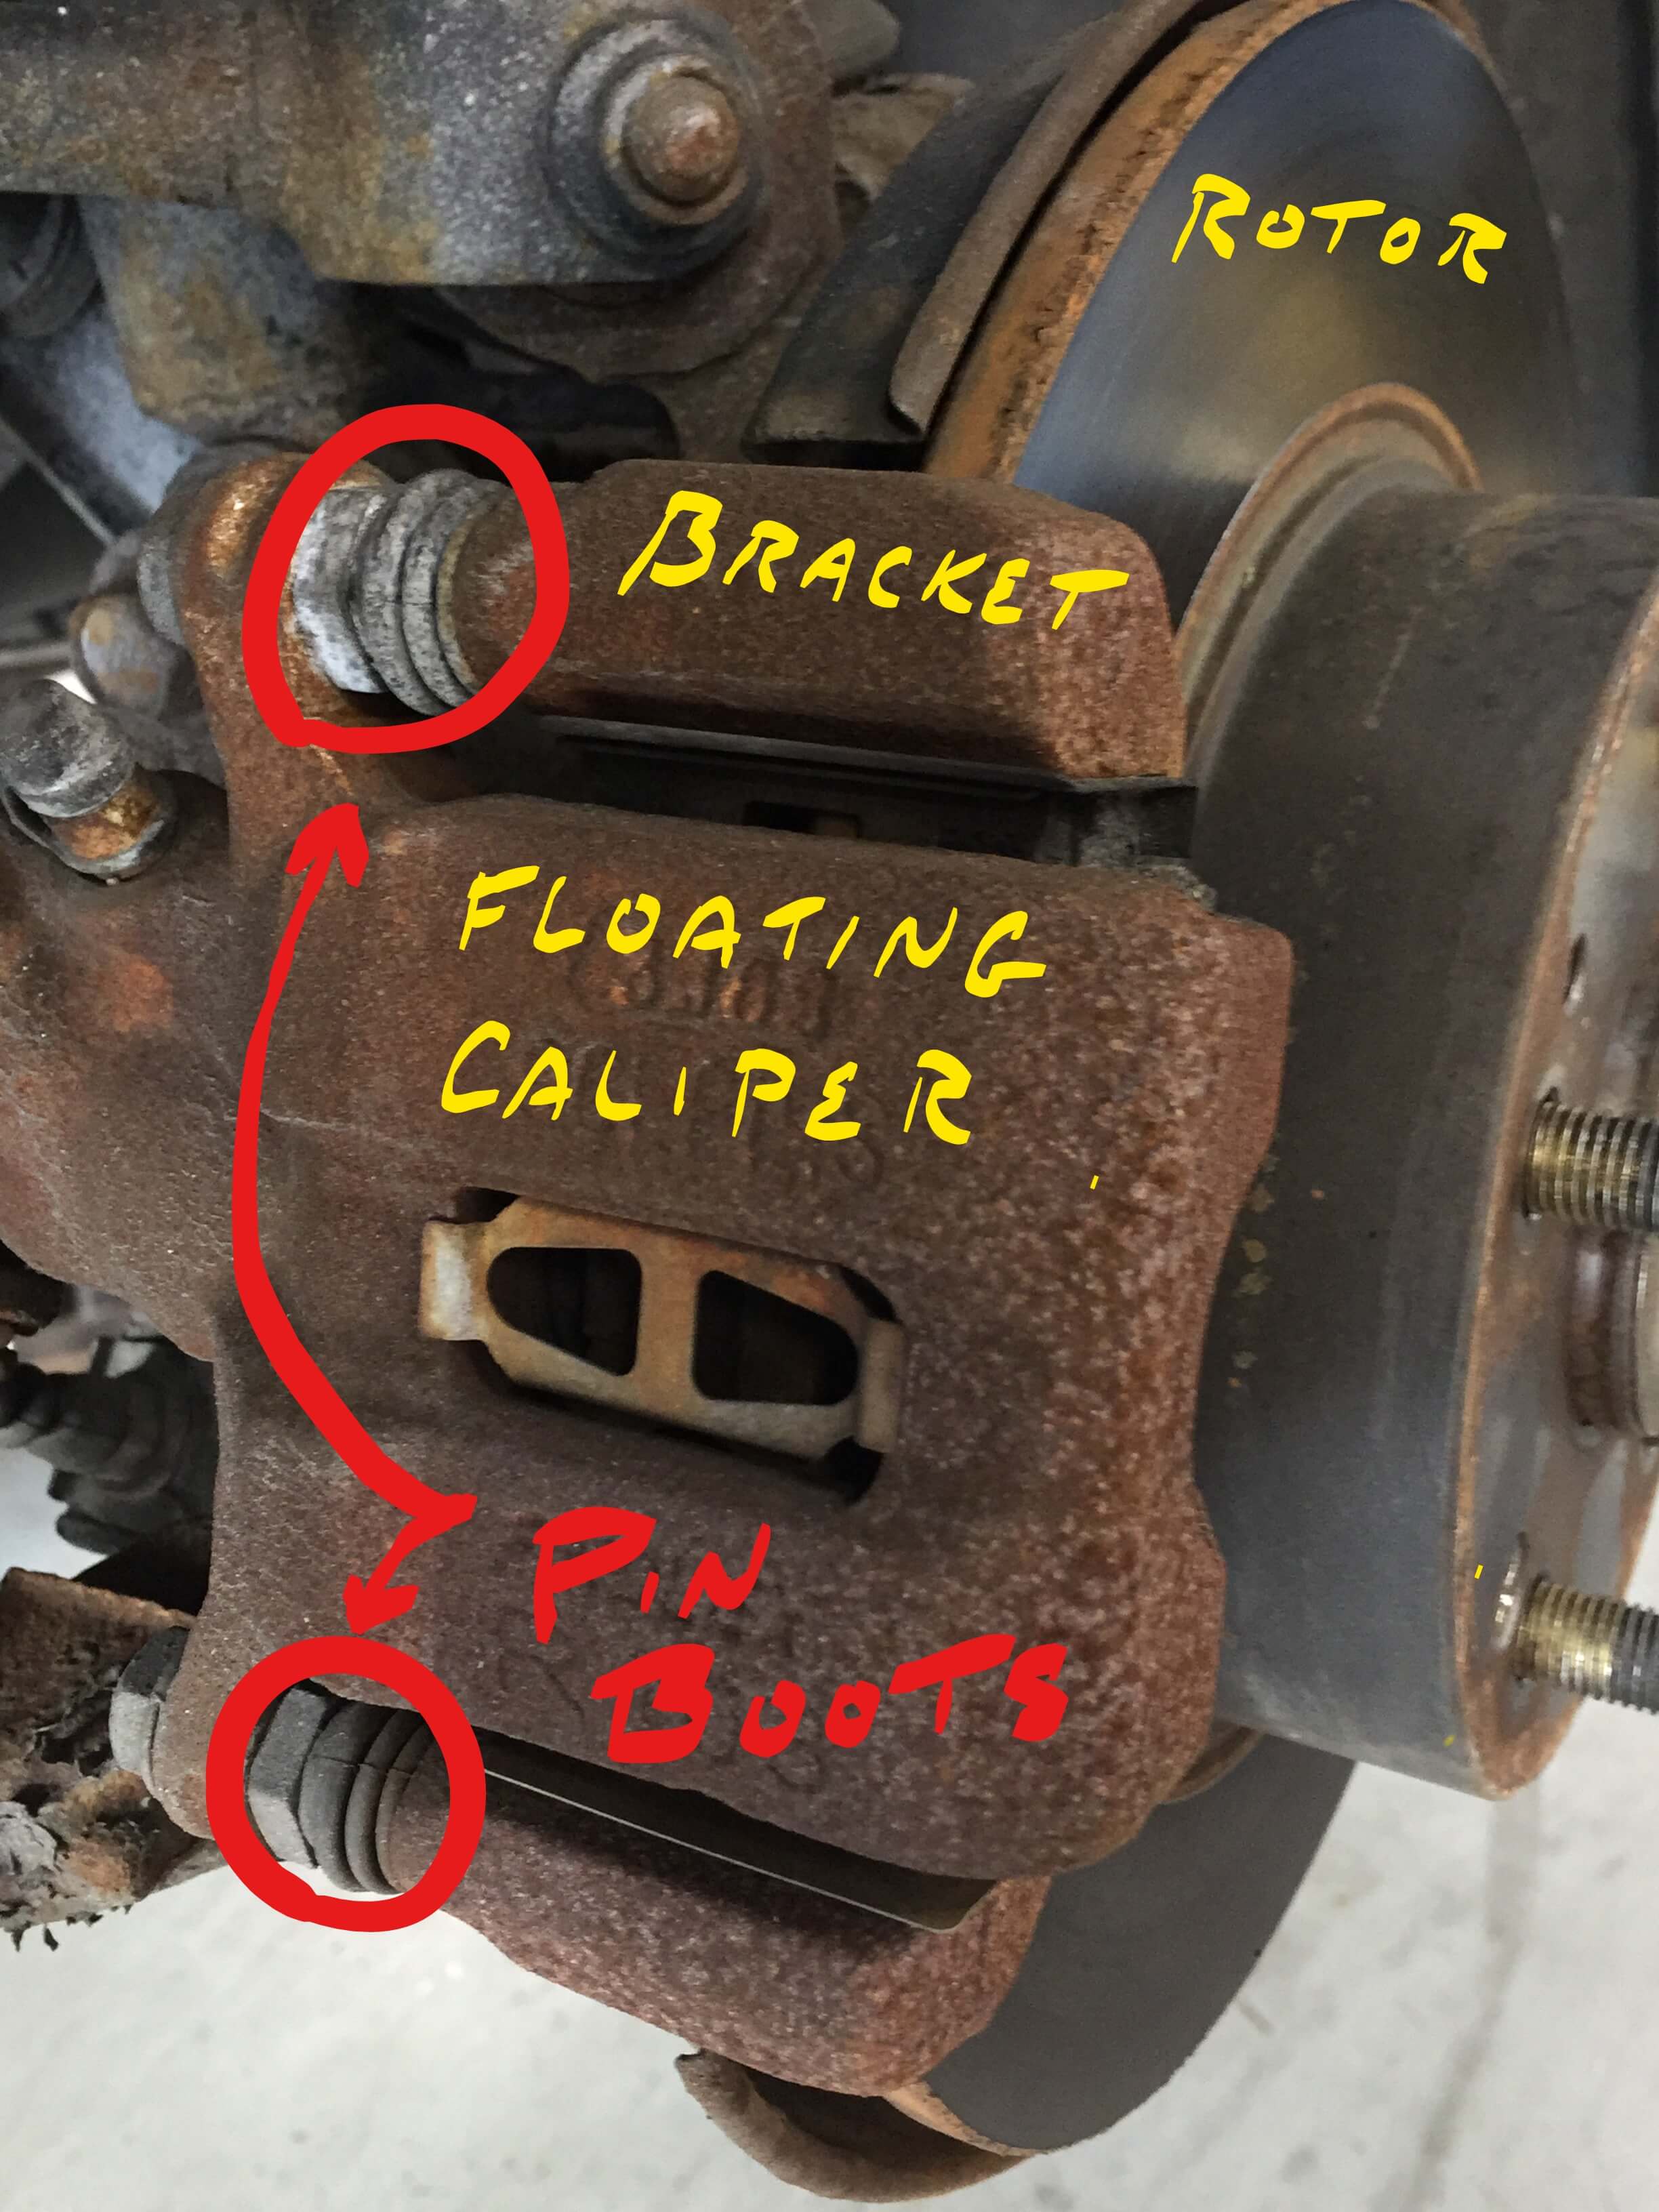
A brake caliper guide pin boot is a flexible rubber cover that seals the area around the caliper slide pin. The guide pin allows the floating caliper to move back and forth when you press the brake pedal.
When the boot tears or becomes loose, water and dirt can enter the pin channel. Over time, this can lead to corrosion, stiffness, and brake problems. Knowing how to install brake caliper guide pin boot correctly helps protect this important brake component.
- ✦ Protection
The rubber boot blocks moisture, dust, and road debris from reaching the guide pin.
- ✦ Smooth movement
A clean and protected guide pin allows the caliper to slide properly.
- ✦ Longer brake life
Proper boot installation can reduce wear caused by sticking calipers and uneven pad contact.
Signs Your Guide Pin Boot Needs Replacement
Common signs include cracked rubber, missing sections, grease leaking from the boot area, or a caliper pin that feels difficult to move. You may also notice uneven brake pad wear or pulling while braking.
- ✦ Visible damage
A torn or hardened rubber boot should be replaced before contaminants enter the pin area.
Tools and Supplies Needed Before Installing a Brake Caliper Guide Pin Boot
Before starting the job, gather all tools and replacement parts. Having everything ready makes the repair easier and reduces the chance of mistakes.
When learning how to install brake caliper guide pin boot, using the correct grease and replacement boot is just as important as the installation steps.
- ✦ Replacement guide pin boot
Use a boot designed for your specific vehicle model.
- ✦ Brake lubricant
Use brake-safe silicone or synthetic grease made for slide pins.
- ✦ Cleaning supplies
Brake cleaner, a clean cloth, and a soft brush help remove old grease and debris.
- ✦ Basic hand tools
You may need sockets, wrenches, screwdrivers, and a torque wrench depending on the vehicle.
Safety Preparation
Park on a flat surface and use proper jack stands before working near the brake assembly. Never rely only on a vehicle jack to support the car.
- ✦ Personal protection
Wear gloves and eye protection because brake dust and cleaners can irritate skin and eyes.
Step-by-Step: How to Install Brake Caliper Guide Pin Boot
The process of how to install brake caliper guide pin boot starts with removing the old damaged boot and preparing the guide pin surface. Take your time because a clean installation prevents future issues.
Each vehicle design can vary, but most floating brake calipers use a similar guide pin and rubber boot setup.

- ✦ Step 1: Remove the old boot
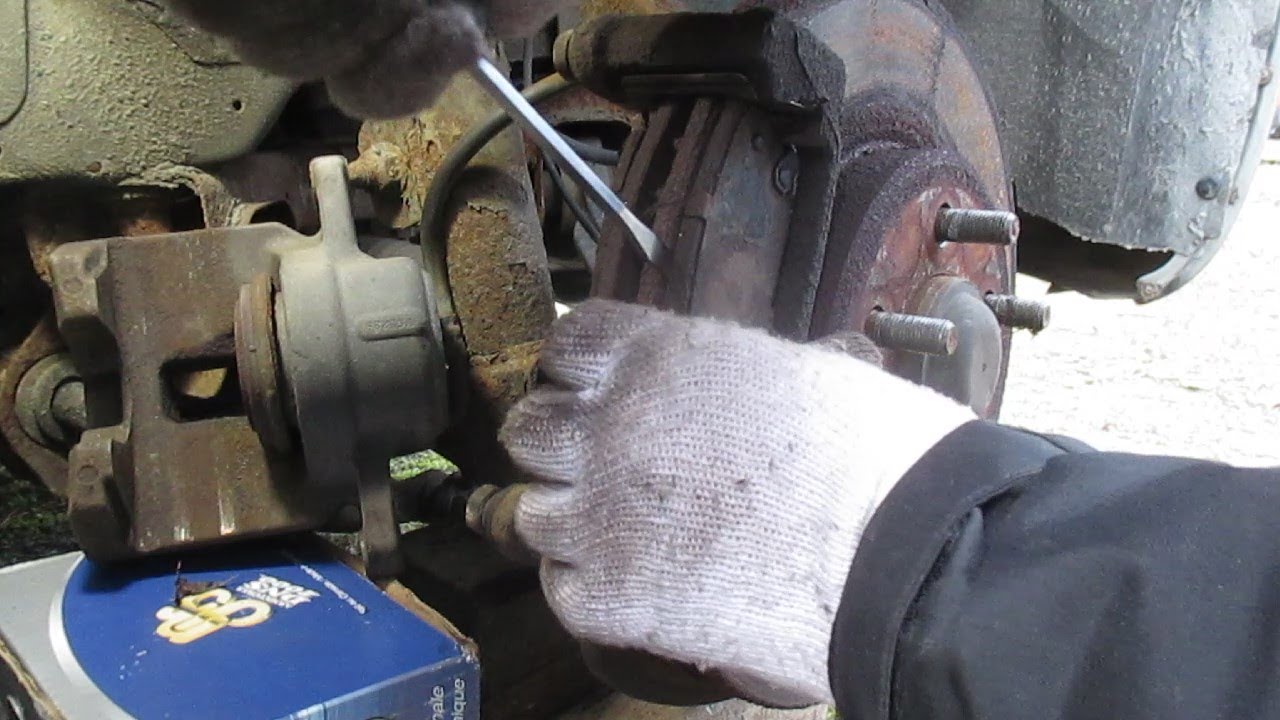
Carefully remove the damaged rubber boot without scratching the metal surfaces.
- ✦ Step 2: Clean the guide pin
Remove old grease, rust, and dirt from the pin and mounting hole.
- ✦ Step 3: Apply brake grease
Apply a thin layer of compatible lubricant to the guide pin.
- ✦ Step 4: Install the new boot
Fit the boot into both sealing points so it sits evenly and securely.
- ✦ Step 5: Test movement
Move the caliper by hand to confirm the guide pin slides smoothly.
Checking the Boot Seal
A properly installed boot should have no gaps or twists. A poor seal can allow water inside and shorten the life of the guide pin.
- ✦ Correct fit
The boot edges should sit firmly in their grooves.
Common Mistakes When Installing Brake Caliper Guide Pin Boots
Many DIY brake repairs fail because small details are overlooked. When following how to install brake caliper guide pin boot instructions, avoid shortcuts that may damage the braking system.
Using the wrong lubricant or installing a twisted boot can create problems even if the repair looks complete.
- ✦ Using regular grease
Petroleum-based grease may damage rubber boots and should not replace brake-specific lubricant.
- ✦ Skipping cleaning
Old rust or dirty grease can prevent proper guide pin movement.
- ✦ Ignoring damaged pins
A severely rusted or worn guide pin may need replacement instead of only a new boot.
How a Proper Guide Pin Boot Installation Improves Brake Performance
A correctly installed guide pin boot helps the caliper move evenly during braking. This supports even pressure on the brake pads and rotor.
For drivers in the United States, where vehicles often face rain, snow, salt, and road debris, protecting brake components is an important part of routine maintenance.

- ✦ Better pad wear
Smooth caliper movement helps brake pads wear more evenly.
- ✦ Reduced brake noise
Proper lubrication and protection can reduce problems linked to sticking parts.
- ✦ Improved reliability
A sealed guide pin area helps prevent corrosion-related failures.
When to Ask a Professional Mechanic
A DIY repair may not be suitable if the caliper pin is seized, the caliper bracket is damaged, or brake fluid leaks are present. A qualified technician can inspect these issues safely.
- ✦ Complex brake problems
Seek professional help for problems beyond a simple boot replacement.