How to Install Brake Caliper Clips: A Step-by-Step Guide for Safe Brake Repairs
Knowing how to install brake caliper clips is a useful skill for many U.S. vehicle owners who handle basic brake maintenance. These small metal parts may look simple, but they play an important role in keeping brake pads stable and reducing unwanted noise.
From my experience reviewing brake service procedures, many brake problems start with small hardware mistakes. A clip installed in the wrong position can cause uneven pad wear, squeaks, or poor brake feel. This guide explains how to install brake caliper clips safely and clearly.

What Are Brake Caliper Clips and Why Do They Matter?
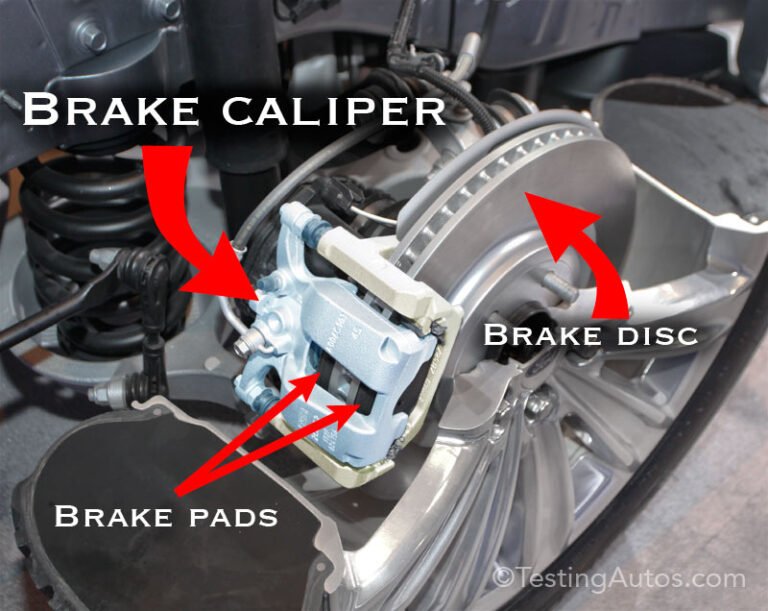
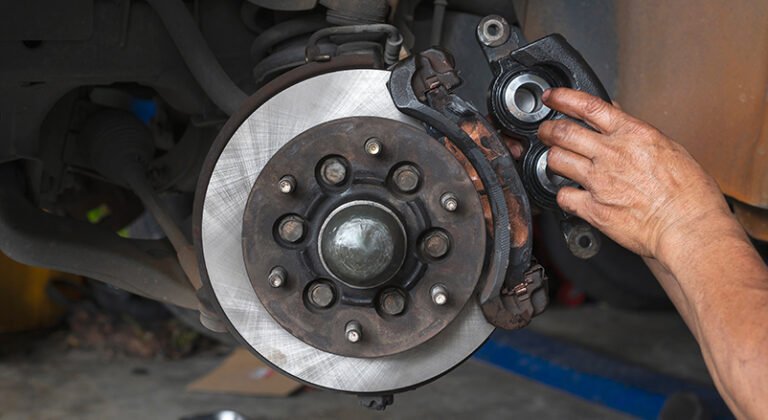
Brake caliper clips are small metal pieces that fit between the brake pad and caliper bracket. They guide the brake pad as it moves during braking and help keep the pad positioned correctly.
When learning how to install brake caliper clips, it is important to understand their purpose. Good installation helps prevent rattles, supports even brake wear, and allows the pads to slide as designed.
- ✦ Reduce brake noise
Clips help limit movement that can create clicking or squeaking sounds.
- ✦ Support smooth pad travel
The clips provide a clean surface for brake pads to move during braking.
Common Types of Brake Clips
Vehicles use different brake hardware designs. Some use abutment clips, while others use anti-rattle springs or pad retaining clips.
Before starting how to install brake caliper clips, identify the exact clip style for your vehicle.
- ✦ Abutment clips
These sit in the caliper bracket and guide the ends of the brake pads.
- ✦ Anti-rattle clips
These apply light pressure to reduce brake pad movement and noise.
Tools and Safety Steps Before Installing Brake Caliper Clips
Before you learn how to install brake caliper clips, prepare the right tools and create a safe work area. Brake parts can be heavy, dirty, and under stress, so careful preparation matters.
Park on a flat surface, use wheel chocks, and support the vehicle with approved jack stands. Never rely only on a vehicle jack while working underneath.
- ✦ Basic tools
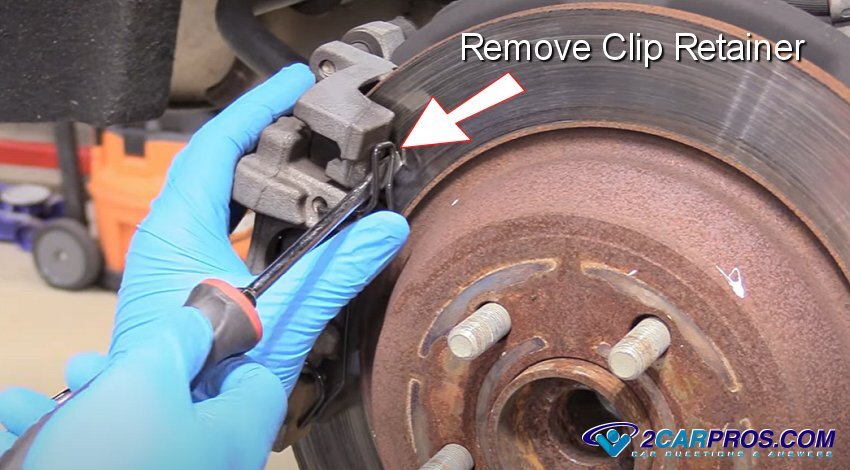
Gather a socket set, brake cleaner, wire brush, gloves, and a small screwdriver or pick tool.
- ✦ Safety equipment
Use eye protection and gloves to protect yourself from dust and sharp metal edges.
How to Install Brake Caliper Clips Step by Step
The process for how to install brake caliper clips is simple when each step is done carefully. The most important parts are cleaning the mounting area and making sure each clip locks into its correct position.
Do not force a clip into place. A properly matched clip should fit firmly without bending or excessive pressure.

- ✦ Step 1: Remove old hardware
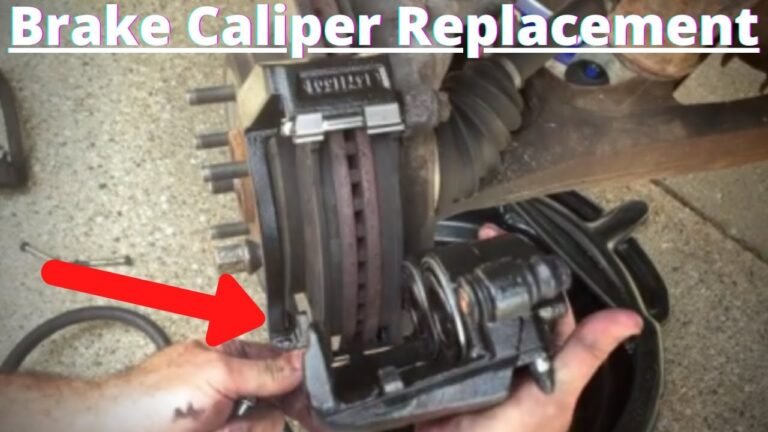
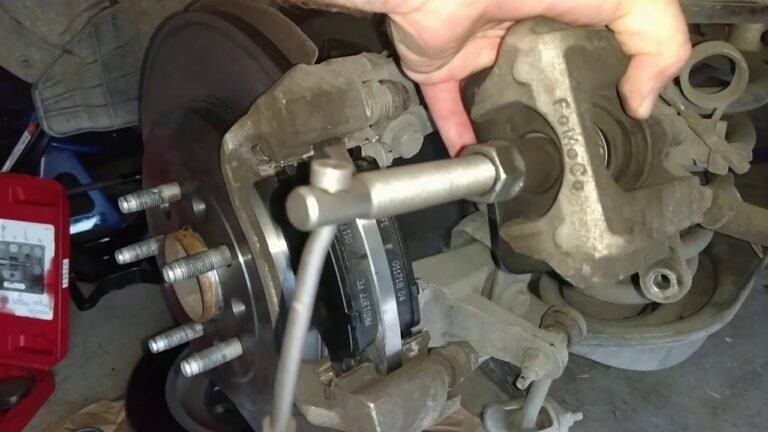
Take out the old clips and inspect the caliper bracket for rust, dirt, or damage.
- ✦ Step 2: Clean the bracket
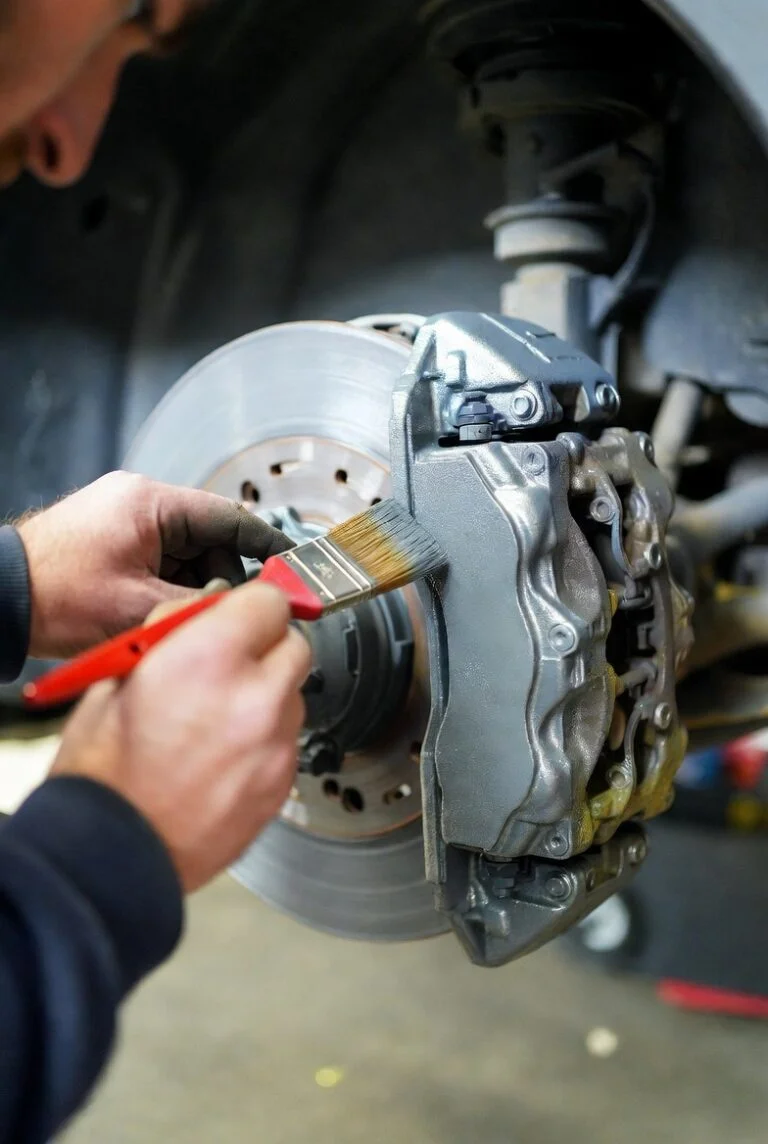
Remove corrosion and debris so the new clips sit flat.
- ✦ Step 3: Install new clips
Press the clips into the bracket grooves until they are fully seated.
- ✦ Step 4: Check pad movement
Make sure the brake pads slide smoothly with no binding.
Checking Correct Clip Placement
When completing how to install brake caliper clips, compare the new hardware with the old parts before installation. The shape, bends, and locking points should match.
A loose clip can move during driving. A badly installed clip can create noise or affect brake operation.
- ✦ Match the clip shape
Install the clip exactly as the manufacturer designed it.
Common Mistakes When Installing Brake Caliper Clips
Many DIY brake repairs fail because small details are ignored. Understanding common errors makes how to install brake caliper clips easier and safer.
A clean installation matters because brake hardware works under heat, pressure, and repeated movement.

- ✦ Skipping cleaning
Rust and debris can stop clips from seating correctly.
- ✦ Reusing damaged clips
Old clips may lose tension and should often be replaced during brake service.
- ✦ Installing clips backward
Incorrect direction can prevent proper brake pad movement.
How to Know If Brake Caliper Clips Were Installed Correctly
After learning how to install brake caliper clips, inspect your work before driving. The brake pads should sit evenly, and the clips should remain secure.
A short test drive in a safe area can help confirm that the brakes feel normal. Listen for unusual sounds and check for vibration.

- ✦ Visual check
Confirm that clips are fully seated and not bent or loose.
- ✦ Brake feel check
The pedal should feel normal after brake service.
Maintenance Tips for Long-Lasting Brake Hardware
Brake clips are small, but they are part of a system that needs regular care. During brake pad replacement, inspect all hardware instead of replacing only the pads.
Drivers in areas with road salt, snow, or heavy moisture should pay extra attention to corrosion on brake components.

- ✦ Replace worn hardware
New clips can improve brake operation when old clips are rusty or weak.
- ✦ Follow vehicle instructions
Use the recommended parts and installation method for your specific vehicle.