How to Remove Stuck Brake Line From Master Cylinder Step by Step
A stuck brake line at the master cylinder can sometimes be removed by cleaning the fitting, applying penetrating oil to the outside, and gently turning the flare nut with a correctly sized flare-nut wrench. If the metal tube twists with the nut or the nut starts rounding, stop rather than forcing it. The line may need replacement, even if the fitting eventually comes loose.
The problem usually involves a small threaded fitting where a rigid brake pipe enters the master cylinder. Rust can seize the threads, bond the nut to the tubing, or do both. A regular open-end wrench may damage its corners before the connection moves. Because this joint carries brake fluid under pressure during braking, an apparently minor mistake can become a serious leak.
The process below explains how to prepare the connection, distinguish a stuck nut from a stuck tube, loosen it in controlled steps, and decide when cutting out a damaged line is the safer repair. It also covers inspection, reconnection, brake bleeding, and the checks needed before the vehicle returns to service.
Why the Brake Line Gets Stuck in the Master Cylinder
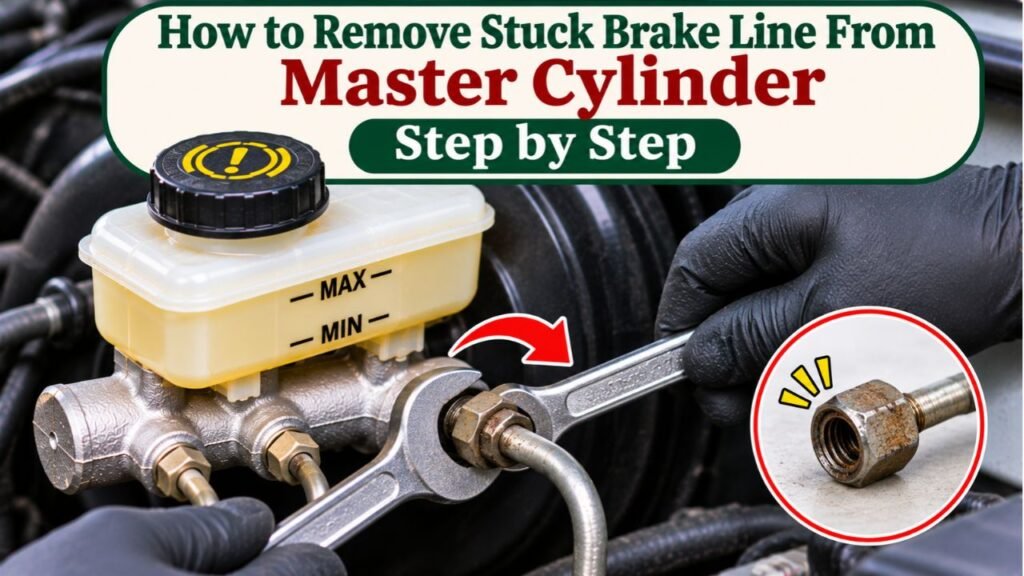
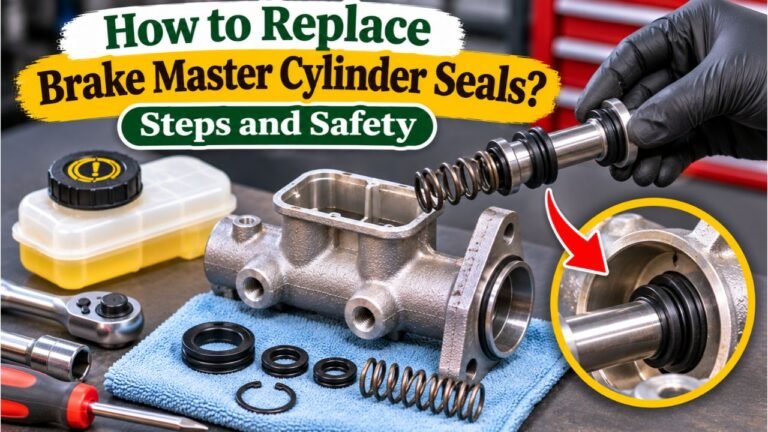
A rigid brake line normally ends in a shaped flare, held against a matching seat inside the master cylinder by a threaded flare nut. The nut should rotate around the tube while the tube itself stays still. That difference determines whether you can remove the fitting without damaging the line.
Road salt, water, and age can corrode exposed threads. Rust can also form in the narrow gap between the nut and the tube, effectively bonding them together. In the first case, the nut refuses to turn. In the second, it may turn but drag the tube with it. Both conditions can be present at once.
This matters because a tube that twists or kinks can crack, restrict fluid flow, or leak at its flare. A connection that appears to have broken free is not necessarily safe to reuse. Look closely at both the nut and the first few inches of tubing before deciding what to do next.
Tools Needed to Remove a Seized Brake Line Fitting
Gather the tools and replacement supplies before opening the hydraulic system:
- Correctly sized six-point flare-nut wrench (also called a line wrench)
- Small nylon or brass brush for external corrosion, plus clean shop towels
- Penetrating oil for use on exposed, external threads only
- Safety glasses, chemical-resistant gloves, and a fluid catch container
- Brake-fluid-compatible caps or plugs for open ports and lines
- Fresh brake fluid of the grade specified by the vehicle manufacturer
- Vehicle-specific service information and a suitable torque wrench setup
- A replacement brake line or access to a qualified brake-line fabricator if the original is damaged
A flare-nut wrench has a slot that passes over the pipe and a head that grips more of the nut’s sides than an open-end wrench. The Unior USA guide to flare-nut wrenches explains how this design spreads turning force across the fitting instead of concentrating it on its corners.
Safety Note: If the vehicle has an electronically controlled brake system, consult its service procedure before touching hydraulic connections. Some systems require a special disabling or pressure-release process. Never work on a live or unexpectedly pressurized system.
How to Remove Stuck Brake Line From Master Cylinder: 12 Steps
These steps apply to a conventional threaded metal brake-line connection. Check the exact service instructions for your vehicle before starting. They are not a substitute for procedures covering unusual fittings, integrated ABS assemblies, or electronically actuated brakes.
Step 01: Park Safely and Identify the Correct Brake Line
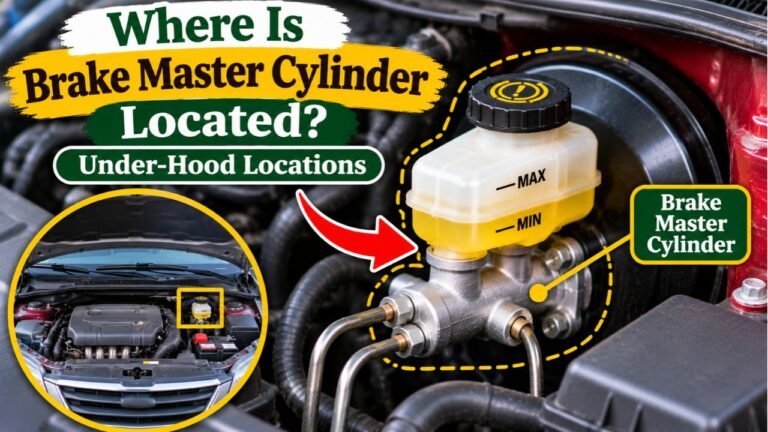
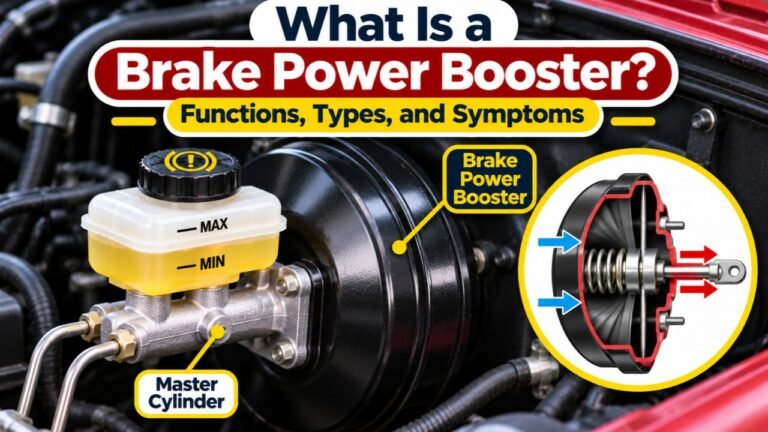
Park on firm, level ground, switch the ignition off, and secure the vehicle against movement. Usually, the master cylinder is mounted to the brake booster near the firewall. Find the rigid metal pipe entering the cylinder and identify the hex-shaped nut at its end.
If several pipes connect to the unit, photograph their positions and label them before removal. Do not assume the ports are interchangeable. Check whether nearby batteries, air ducts, or covers can be removed safely to improve wrench access. You should be able to place the wrench squarely on the nut without pulling sideways on the pipe.
Step 02: Protect the Work Area From Brake Fluid
Wear eye protection and suitable gloves. Place absorbent cloths beneath the fitting and cover nearby painted panels. Brake fluid can damage finishes, so rinse any spilled fluid from painted surfaces promptly with water.
Have a drain container and the correct caps ready. Do not repeatedly press the brake pedal after beginning the job; doing so can move fluid out of an open connection. The goal is to keep the joint clean and limit fluid loss once it separates. Do not leave the reservoir uncovered longer than necessary.
Step 03: Inspect the Nut, Tube, and Cylinder Port
Examine the nut under good lighting. Look for rounded corners, heavy rust, visible cracks, or signs that someone previously gripped it with pliers. Check the tubing immediately behind it for pitting, swelling, kinks, or wet spots.
Determine whether the line must be preserved. If extensive corrosion is present or the pipe is already distorted, plan for replacement rather than attempting to save it. A leaking master cylinder port or visibly damaged threads also changes the repair. Removing the fitting does not fix a defective sealing seat in the cylinder.
Step 04: Clean Rust and Dirt From the Outside of the Fitting
Brush loose rust and dirt from the hex nut, its exposed threads, and the point where the tube enters the back of the nut. Use a small brush that lets you control where debris goes. Keep the reservoir cap installed and avoid pushing dirt toward any opening.
Wipe away loosened particles with a clean towel. Do not drive a sharp pick into the joint or scrape sealing surfaces. Cleaning first lets penetrating oil reach the exposed gaps and helps the wrench seat fully. It also makes it easier to see whether a corner is already damaged.
Step 05: Apply Penetrating Oil Carefully and Allow It to Work
Apply a small amount of penetrating oil to the outside of the rusty nut and accessible thread area, aiming at the gap between the nut and tube. Allow it to soak according to the product instructions. Particularly stubborn corrosion may require another external application and more time.
Do not spray penetrant into the reservoir, brake line, or master cylinder port. Keep it away from brake friction surfaces and vulnerable rubber components. Penetrating oil is not brake fluid and must never enter the hydraulic circuit.
An Advance Auto Parts guide to brake-line replacement likewise recommends penetrating oil followed by careful removal with a flare-nut wrench at the master cylinder. The emphasis is on loosening the fitting without damaging the pipe.
Step 06: Seat the Flare-Nut Wrench Fully on the Fitting
Select a wrench that fits snugly across the nut’s flats. Slide its slot sideways over the brake tube, then lower the head completely onto the nut. Make sure nearby brackets do not hold the wrench at an angle.
Apply modest, steady force in the loosening direction, normally counterclockwise when viewed directly toward the fitting. Avoid fast jerks, long cheater bars, and repeated attempts after the tool slips. If the wrench begins spreading or climbing off the flats, release pressure immediately. Changing to an oversized wrench will only make the damage worse.
Step 07: Break the Rust Bond With Small Controlled Movements
If the nut begins to move, do not immediately spin it out. Work it gently through a small loosening movement, then reverse slightly if needed. This can help avoid dragging damaged external threads through the cylinder port. Pause and add more penetrant externally when resistance returns.
Watch the tubing throughout. It should remain stationary as the nut rotates. A witness mark drawn across the nut and adjoining tube can make unexpected movement easier to spot. Do not interpret increasing force as progress. If controlled movement stops, return to cleaning and soaking or switch to a replacement plan.
Step 08: Stop If the Brake Line Twists With the Nut
A nut that rotates together with the tubing is seized to the pipe, even if its threads are coming out of the cylinder. This is a different failure from a nut that simply refuses to turn. Continued rotation can wind up the tube like a spring and create hidden damage.
Stop as soon as you see the line follow the wrench. You may try additional external penetrant around the tube-to-nut gap and a limited, gentle movement only while the tube remains stationary. Never clamp or bend the tube to force separation. If the bond persists, replace the affected line. A twisted brake pipe should not be straightened and returned to service.
Step 09: Decide Whether a Rounded or Frozen Nut Requires Line Replacement
If the hex corners are rounding or the fitting remains immovable, stop using force. Locking pliers and adjustable wrenches may crush the nut while damaging the cylinder port. Do not heat the fitting with a torch near brake fluid, wiring, rubber parts, or the reservoir.
Where the line has already been condemned, a trained technician may cut the pipe at a controlled, accessible point and use a properly fitted six-point socket on the remaining nut. Cutting the line means replacing it, not joining the cut ends with an improvised compression fitting. If the nut threatens to strip the master cylinder threads or access is poor, professional removal is the safer next step.
Step 10: Separate the Line and Seal the Open Connection
Once the nut turns freely without twisting the tube, continue loosening it carefully. Pull the pipe back only enough to clear its flare from the port, keeping its original shape. Catch the fluid that drains out; do not let the pipe hang by another connection.
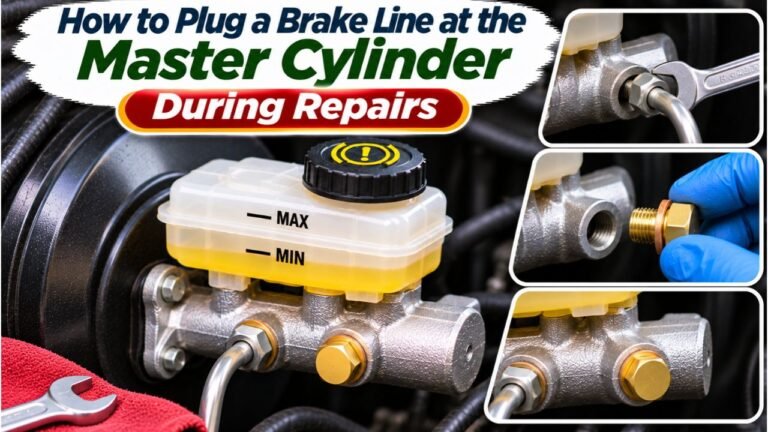
Cover the exposed master cylinder port and pipe end with clean, compatible service plugs or caps. They are contamination barriers, not permission to drive with a disconnected circuit. Do not stuff tissue into the opening, use an unverified bolt as a plug, or leave the system open while collecting parts. Keep any penetrant residue away from the hydraulic openings.
Step 11: Inspect and Refit the Correct Brake Line and Nut
Examine the removed flare for cracks, flattening, scratches, and uneven seating. Inspect the nut’s threads and confirm the cylinder port is clean and undamaged. A fitting that had to be forced out may have damaged threads even if it looks acceptable at first glance.
Use the correct replacement tube diameter, fitting thread, and flare style for the vehicle. SAE double flares and ISO bubble flares are not interchangeable. Align the tube naturally with the port. Start the nut by hand for several turns; if it binds or enters at an angle, back it out and investigate instead of forcing it.
Tighten to the vehicle manufacturer’s specified torque using suitable equipment. The flare creates the hydraulic seal against its seat; thread tape or ordinary thread sealant is not a substitute for a correct connection.
Step 12: Refill, Bleed, and Verify the Brake System
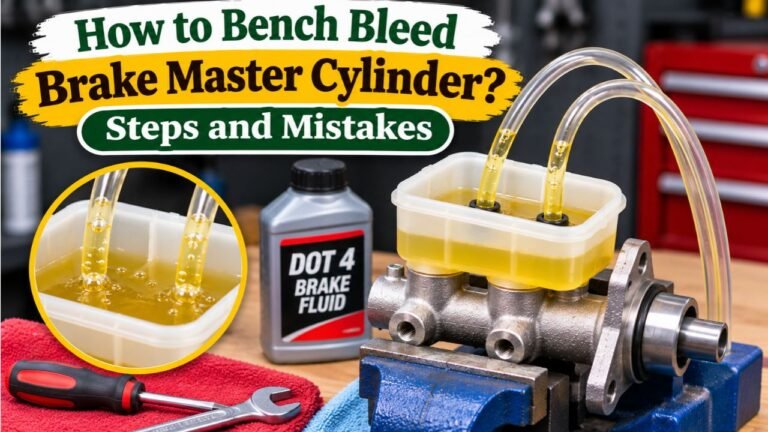
Once the line is correctly installed, refill the reservoir with fresh brake fluid of the specified grade. Any hydraulic circuit opened during removal must be bled using the procedure for that vehicle. If the master cylinder was replaced or drained internally, additional master-cylinder bleeding may be required. Some ABS units need a scan tool or special sequence.
Brembo’s master-cylinder replacement instructions call for correctly matched connections, manufacturer-specified tightening, brake bleeding, and inspection for leaks. These checks remain necessary even when only one stuck line was disconnected.
With the vehicle stationary, inspect the joint while brake pressure is applied according to the service procedure. Confirm a proper pedal response, no falling fluid level, and no seepage. If the pedal stays soft, sinks, or any connection leaks, do not drive. Have the system corrected and verified by a qualified technician before road use.
Can You Reuse a Brake Line After Removing a Seized Fitting?
Reusing the line is reasonable only if it remains sound and the service procedure permits it. The tube must have no kinks, twists, severe corrosion, cracks, or damaged flare. The nut must rotate independently and have intact threads and wrench flats. Any questionable part should be replaced rather than hidden behind a freshly tightened connection.
Replacement tubing must be intended for hydraulic automotive brakes and formed with the correct ends. Do not substitute soft general-purpose plumbing tubing. Preformed vehicle-specific lines can simplify routing, while custom replacement lines require accurate bending and professional-quality flaring.
Remember that tight threads alone do not seal a flare connection. Correctly aligned, undamaged mating surfaces create the seal when the flare nut is torqued as specified.
FAQs About How to Remove Stuck Brake Line From Master Cylinder
What Size Wrench Removes a Master Cylinder Brake Line?
The size depends on the vehicle and fitting. Use a snug-fitting six-point flare-nut wrench after measuring or identifying the nut from service information. Do not assume every brake-line fitting uses the same metric size.
Can WD-40 or Penetrating Oil Help With a Stuck Brake Line?
A purpose-made penetrating oil may loosen external corrosion. Apply it only to the outside of the joint, allow time to work, and keep it out of the hydraulic system. Oil cannot repair a rusted, cracked, or twisted tube.
Should I Heat a Seized Brake Line Nut?
No open flame should be used as a routine removal method near the master cylinder. Brake fluid residue, rubber parts, wiring, and plastic reservoirs create unnecessary hazards. If cleaning and controlled wrench pressure fail, seek professional removal.
Can I Drive After Disconnecting and Reconnecting a Brake Line?
Not until the brake system has been properly bled, checked for leaks, and verified to operate correctly. A reattached fitting can still leak or admit air. A soft or sinking pedal means the car must remain out of service.
What If the Brake Line Breaks During Removal?
Do not patch it with a general plumbing fitting or try to drive with the line blocked. Replace the damaged hydraulic line with a correctly specified and flared assembly, then bleed and inspect the braking system.
Removing a Stuck Master Cylinder Brake Line Without Damaging the Brakes
The most reliable approach to how to remove stuck brake line from master cylinder fittings is controlled preparation: identify the connection, clean the corrosion, use the correct flare-nut wrench, and watch whether the tubing stays still. Once the nut starts moving, patience matters more than extra leverage.
A nut that rounds off, a tube that twists, or a damaged flare changes the job from removal to replacement. Do not put a questionable pipe back into a hydraulic brake circuit simply because it can be threaded into the port.
Finish with correct parts, proper torque, the specified bleeding procedure, and a verified leak-free pedal response. If any part of that process is uncertain, a qualified brake technician should complete the repair before the vehicle is driven.