How to Replace Brake Master Cylinder Seals: Steps and Safety
Replacing brake master cylinder seals involves removing a serviceable master cylinder, inspecting its bore, installing the correct piston seals, and bleeding the brakes afterward. The repair is appropriate only when the manufacturer permits rebuilding and the cylinder body and pistons remain within specification. Otherwise, replacing the complete master cylinder is the safer choice.
A worn seal may let brake fluid bypass a piston instead of creating the pressure needed for firm braking. Other seals can leak fluid externally, sometimes toward the brake booster. However, a sinking or soft brake pedal does not automatically prove the master cylinder is defective. Leaking brake lines, air in the system, and other hydraulic faults can cause similar symptoms.
This guide explains how to identify the seals involved, check whether your cylinder can be rebuilt, remove and install a compatible seal kit, and inspect the parts that determine whether the repair will hold. It also covers reservoir seals, proper bleeding, and the checks needed before the vehicle can be driven safely.
Can You Replace Seals in Every Brake Master Cylinder?

No. Some older and specialty master cylinders are designed for rebuilding and have manufacturer-approved seal kits. Many modern passenger-car master cylinders are supplied as complete replacement assemblies, with no approved procedure for servicing their internal pistons or seals.
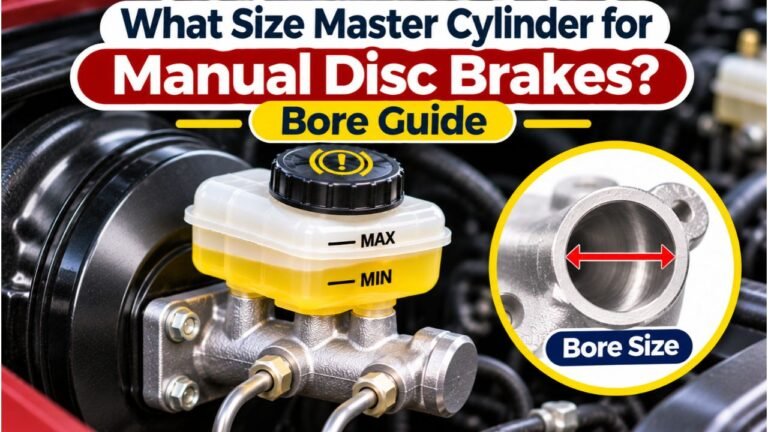
A rebuild kit must match the exact master cylinder, not just the vehicle’s make or a similar-looking part. Bore diameter, piston design, seal profiles, spring arrangement, and retaining hardware can differ. Even two cylinders mounted on the same vehicle model may use different internal parts.
Check the factory service information and the part number on the cylinder. If the manufacturer does not authorize an internal rebuild, or suitable replacement seals are unavailable, do not improvise with generic O-rings. Hydraulic brake seals have specific shapes and material requirements that ordinary hardware-store seals do not meet.
Symptoms That May Indicate Failed Master Cylinder Seals
Internal Seal Bypass and a Sinking Brake Pedal
Internal piston seals separate pressure chambers inside the master cylinder. When a seal is damaged, fluid may slip past it under pressure without escaping onto the ground. The pedal can gradually move downward while steady force is applied, and braking response may become unpredictable.
This symptom calls for a complete hydraulic diagnosis. An external leak, air in the lines, an ABS hydraulic fault, or another mechanical problem can produce similar pedal behavior. A technician can isolate the suspected component using the vehicle’s specified tests.
External Leaks Around the Cylinder or Reservoir
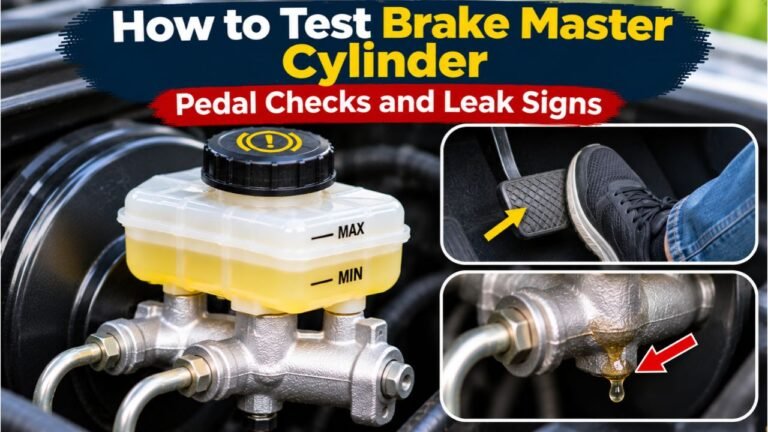
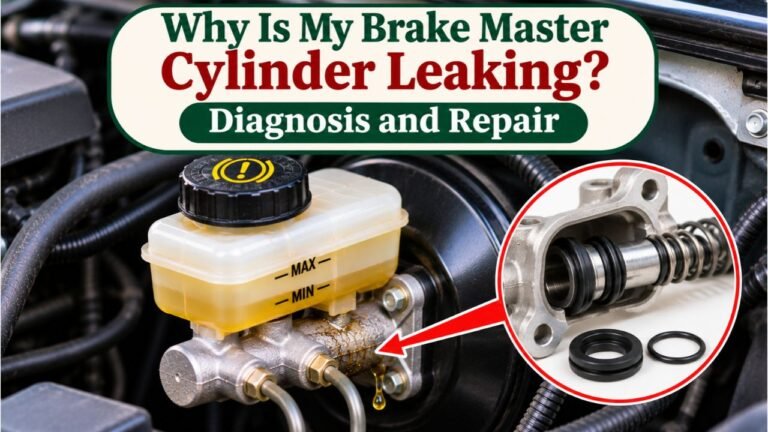
Wetness where the master cylinder joins the brake booster may indicate a rear seal leak. Fluid can collect inside the booster, so an obvious puddle may never appear. Wetness at the reservoir-to-cylinder connection points instead toward damaged reservoir grommets or a cracked reservoir.
Check the brake fluid level and nearby fittings without assuming every stain is fresh fluid. A loose or damaged brake line connection, for example, will not be fixed by replacing piston seals. If the fluid level is dropping or braking feels abnormal, do not drive the vehicle until the cause is found and repaired.
Parts and Tools Needed for a Master Cylinder Seal Rebuild
Have the model-specific service instructions beside you before disassembly. The basic equipment usually includes:
- An approved master cylinder rebuild kit with the required seals and retaining parts
- Fresh brake fluid of the exact type specified for the vehicle
- Flare-nut wrenches for brake line fittings and appropriate mounting tools
- Internal or external snap-ring pliers, as the cylinder design requires
- A clean workbench, lint-free materials, fluid-safe collection container, and line caps
- Eye protection, chemical-resistant gloves, and a suitable bench vise with soft jaws
- A compatible bench-bleeding kit and equipment for the required wheel or ABS bleeding procedure
Photographing the exposed components as they are removed can help document their order. Lay pieces out on a spotless tray, separating the primary and secondary piston components. Do not assume the seals in a universal-looking kit fit both pistons in the same orientation.
Safety note: Brake fluid can damage paint and irritate skin or eyes. Keep it off painted surfaces, clean spills promptly, and dispose of used fluid according to local requirements. Never substitute engine oil, power-steering fluid, or petroleum grease for the specified brake fluid.
How to Replace Brake Master Cylinder Seals Step by Step
The following sequence describes a typical manufacturer-approved, serviceable master cylinder. Exact spring retention, piston removal, seal fitting, and torque procedures vary. If your service information differs, follow that procedure rather than forcing these general steps onto an unfamiliar design.
- Identify the cylinder and verify the repair kit. Match the part number, bore size, and kit instructions. Check whether the kit provides loose seals, preassembled pistons, new retaining hardware, or reservoir grommets. If a piston or bore dimension must be measured, use the manufacturer’s limits rather than a visual guess.
- Prepare the vehicle and remove excess fluid. Park on level ground, secure the vehicle, and protect surrounding paint. With the engine off, carefully remove fluid from the reservoir using a clean, fluid-compatible tool. Avoid draining unnecessary parts of the braking system, and keep contaminants out of the open reservoir.
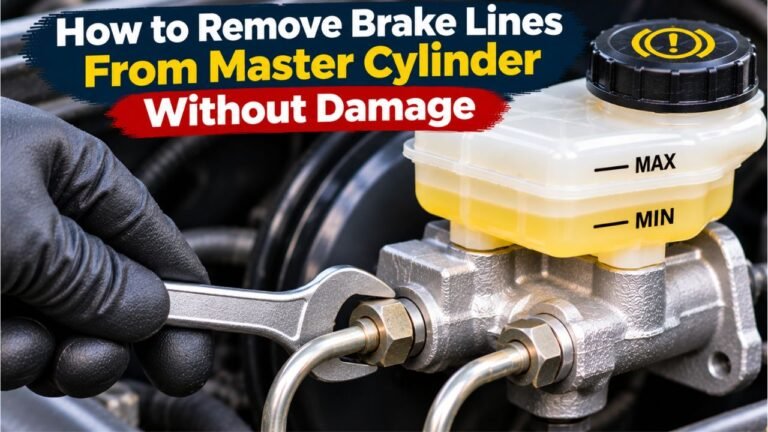
- Disconnect the master cylinder. Label the brake lines if their routing is not obvious, then loosen their fittings with the correct flare-nut wrench. Cap the openings immediately to limit fluid loss and contamination. Disconnect any reservoir sensor or other attached components as directed. Remove the mounting fasteners and lift the cylinder free without bending the lines.
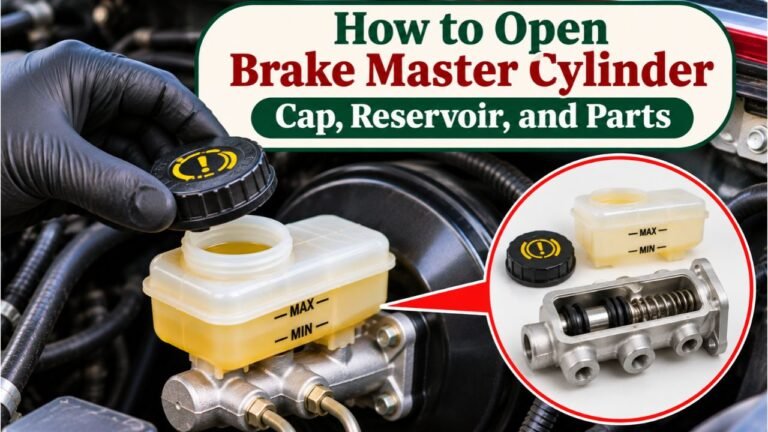
- Secure the cylinder and remove the retaining parts. Clamp the mounting flange gently in soft vise jaws; never crush the cylinder body. Remove the dust boot, retaining ring, end cap, or other hardware in the order specified for that unit. A spring-loaded piston may be under tension, so control its movement and wear eye protection. Withdraw the piston assemblies without scratching the bore.
- Inspect the bore before committing to new seals. Use a light to look for scoring, corrosion, pitting, deposits, or a damaged port. Examine pistons, spring seats, and retainers for wear or distortion. A seal cannot reliably close against a badly damaged surface. Replace the complete master cylinder if the bore is defective or outside specification. Do not hone or polish a bore unless its manufacturer explicitly provides an approved refinishing procedure.
- Remove the old piston seals carefully. Record each seal’s position, profile, and facing direction before removal. Use the method shown in the rebuild instructions; a sharp pick or screwdriver can scratch the piston or its seal groove. Clean reusable components by the manufacturer’s approved method, keeping all passageways free of lint and debris. Discard seals and single-use retainers identified by the kit.
- Lubricate and fit the replacement seals. Wet the new seals and cylinder bore with fresh, specified brake fluid unless the kit calls for another approved assembly lubricant. Install each seal with the exact lip direction and seating position shown in the instructions. Never turn a cup seal around because it appears easier to install. For example, AP Racing’s CP7854/CP7855 repair instructions identify the seal components to renew and call for brake-fluid lubrication during assembly. Those instructions apply to the named AP Racing models, not every master cylinder.
- Reassemble and reinstall the cylinder. Return the springs, pistons, guides, and spacers in their documented order. Compress the assembly only as directed and verify that the retaining ring seats fully in its groove. Confirm that the piston returns freely to its specified rest position. Install the cylinder, position the booster pushrod correctly, reconnect the brake lines without cross-threading, and tighten fasteners to the vehicle’s specifications. Brembo’s master cylinder fitting instructions emphasize correct pushrod positioning, specified tightening torques, leak checks, and manufacturer-directed bleeding.
Do not assume the repair is finished when the parts fit together. The rebuilt unit must be bled, checked for leaks, and verified to produce the correct pedal response before the vehicle moves.
Replacing Reservoir Grommets and Rear Master Cylinder Seals
A reservoir grommet is not the same part as an internal piston pressure seal. On designs with a removable plastic reservoir, rubber grommets seal the reservoir’s feed ports where they enter the master cylinder body. A leak there may be repairable without disassembling the pistons, provided the manufacturer permits reservoir removal.
Use the correct grommets and inspect the plastic reservoir nipples for cracks. Remove the reservoir using the approved method, clean the mating areas as specified, and seat the new grommets without twisting or cutting them. Refit the reservoir squarely, then bleed and test the hydraulic system as required by the service instructions.
A rear piston seal leak is different. Fluid found at the booster mounting face can indicate failed internal sealing and may have entered the booster. The booster and master cylinder both need inspection. Replacing a dust boot or outer gasket alone will not repair a leaking hydraulic pressure seal.
How to Bleed Brakes After Replacing Master Cylinder Seals
Bench Bleed the Rebuilt Master Cylinder
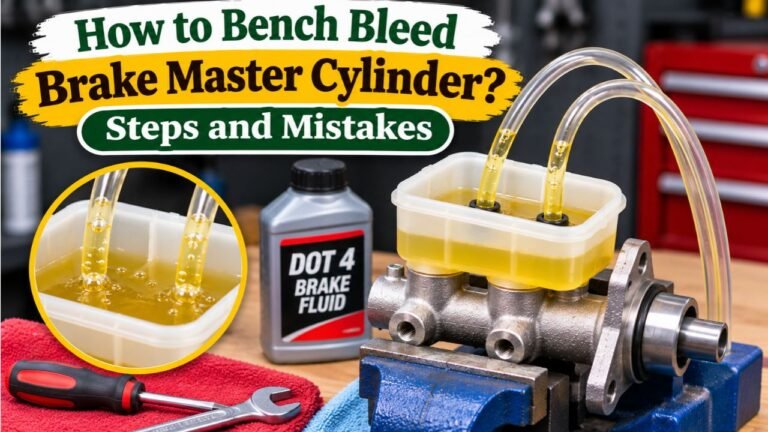
A rebuilt cylinder may contain air in its pressure chambers. When its instructions call for bench bleeding, secure it level in a vise, fill it with the correct fresh fluid, and use the specified return hoses or outlet plugs. Slowly move the piston through the permitted stroke until air is removed, maintaining adequate fluid in the reservoir throughout.
Do not force the piston beyond its specified travel or let the reservoir run dry. Some cylinder designs, including certain stepped-bore types, require a different technique; the universal approach is not always correct.
Bleed the Brake Lines and Address ABS Requirements
After installing the cylinder, bleed the hydraulic circuits in the sequence stated in the vehicle service manual. Keep the reservoir above its minimum level, watch for air bubbles, and use the approved pressure, vacuum, or manual method. The familiar farthest-wheel-first sequence is not universal; some vehicles require a different order.
ABS-equipped vehicles may need a scan-tool-assisted bleed if air enters particular hydraulic circuits. Wagner Brake’s guidance on a no-pedal condition after master cylinder installation specifically advises bench bleeding and following manufacturer procedures, including separate ABS bleeding when required. If the pedal will not firm up, do not drive or keep pumping blindly; investigate trapped air and other faults.
Check Pedal Feel, Fluid Level, and Leaks
With the vehicle stationary, inspect every disturbed connection and the reservoir base. Apply steady brake-pedal pressure as directed by the service procedure and check for an abnormal drop. Verify proper pedal return, then assess the pedal again with engine vacuum assistance where applicable. A normal change in pedal effort as the booster operates should not be confused with a hydraulic leak.
Correct the fluid level and check for warning lights. Any persistent soft pedal, sinking pedal, leak, or unexpected brake behavior means the vehicle is not ready for road use. After all specified checks pass, perform only the manufacturer’s recommended controlled low-speed test before normal driving.
Why New Master Cylinder Seals Can Fail Soon After Installation
A fresh seal kit cannot compensate for a rough or oversized bore. Even a small scratch across a pressure-seal contact surface may allow fluid to bypass. Corrosion and deposits may also damage new rubber during the first few piston strokes.
Another cause is incorrect seal orientation. Pressure cup lips and specialized seals may look similar, but their profiles are designed for particular hydraulic functions. An inverted or twisted seal can block replenishment ports or fail to hold pressure.
Contamination is equally serious. Petroleum products can damage rubber intended for conventional glycol-based brake fluid, while dirt can score a clean bore. Wrong-size seals, reused damaged retaining rings, incorrect pushrod adjustment, and trapped air can all prevent a successful repair. Match the diagnosis to the symptom instead of rebuilding the cylinder repeatedly.
Master Cylinder Seal Kit vs. Complete Cylinder Replacement
| Condition | Better Repair Choice |
| Approved rebuild procedure, matching kit, sound bore and pistons | Rebuild may be reasonable |
| No approved internal parts or service procedure | Replace the complete cylinder |
| Scored, pitted, corroded, or out-of-specification bore | Replace the complete cylinder |
| Leak limited to removable reservoir grommets | Replace grommets if serviceable |
| Fluid damage or uncertain internal condition | Inspect the full system; replacement may be necessary |
A seal kit can save the cost of replacing a sound, rebuildable cylinder, particularly on older vehicles with available service parts. But savings disappear if the cylinder must be removed again because a worn bore was overlooked. On a non-serviceable modern assembly, choosing the correct complete replacement is the practical repair.
Conclusion
Knowing how to replace brake master cylinder seals starts with verifying that the unit is designed to be rebuilt. Correct parts, a defect-free bore, careful seal installation, and complete hydraulic bleeding all matter. A seal kit is not a remedy for corrosion, a damaged piston, or an unrelated brake fault.
Follow the exact service procedure for the vehicle and cylinder. If the components cannot be verified, or the brake pedal remains abnormal after repair, use a qualified brake technician and keep the vehicle off the road until its braking system is confirmed safe.
FAQs About How to Replace Brake Master Cylinder Seals
Can I Replace Master Cylinder Seals Without Removing the Cylinder?
Usually not when replacing internal piston seals. Most serviceable designs require removing the cylinder to access its pistons and retaining hardware safely. External reservoir grommets may be accessible separately on certain models.
Will New Seals Fix a Brake Pedal That Slowly Sinks?
Only if worn master cylinder seals are the confirmed cause and the bore is still serviceable. Air, external leaks, and some ABS hydraulic problems can also affect pedal travel. Diagnose the system before ordering a rebuild kit.
Can I Use Any Rubber O-Ring for a Master Cylinder Seal?
No. Brake master cylinder seals need the exact profile, dimensions, and fluid-compatible material specified for that assembly. A generic O-ring may not seal correctly or survive contact with brake fluid.
Do I Have to Bleed Brakes After Replacing the Seals?
Yes. Opening the hydraulic circuit and disassembling the master cylinder can introduce air. Use the manufacturer’s bench-bleeding and system-bleeding procedures, including ABS steps if the vehicle requires them.
Should I Replace the Whole Master Cylinder Instead of Rebuilding It?
Replace it if the bore is damaged, approved rebuild parts are unavailable, or the manufacturer does not permit internal service. A full replacement is also preferable when corrosion or other internal wear makes a lasting seal repair doubtful.