How to Remove Brake Lines From Master Cylinder Without Damage
To remove brake lines from a master cylinder, use a correctly sized flare nut wrench to loosen each line fitting, unscrew the fitting by hand, and gently move the rigid tube away from its port. Protect the paint from spilled brake fluid, cap open connections, and bleed the hydraulic system after reconnecting the lines.
The challenge is often the small fitting. A regular wrench can round it, and a seized nut can twist the entire pipe. Damage or trapped air can affect stopping performance.
Fitting sizes, access, and bleeding instructions vary by vehicle. If you’re replacing a leaking master cylinder or a damaged pipe, the line usually needs to move only far enough to clear the port. Pulling it farther can damage a tube shaped to fit a tight space. Some hybrids and vehicles with electronically controlled brakes require additional steps before any hydraulic connection is opened. This guide covers the tools, safe disconnection method, ways to handle stubborn fittings, checks before reassembly, and the bleeding and leak tests needed before driving.
How to Remove Brake Lines From Master Cylinder Safely
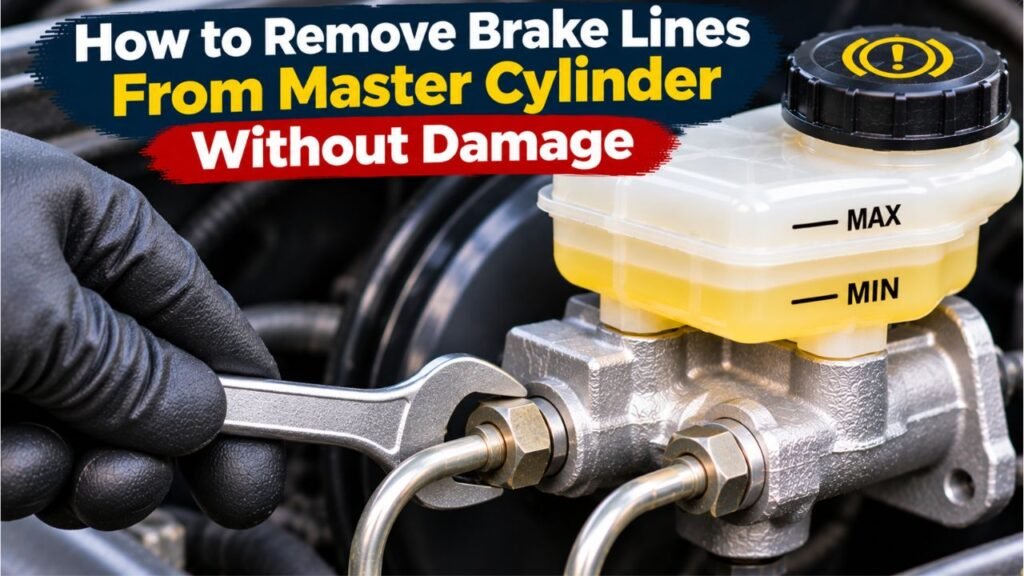
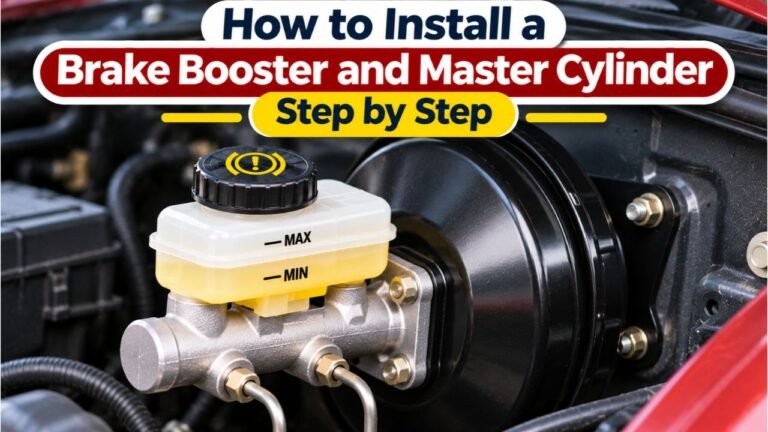
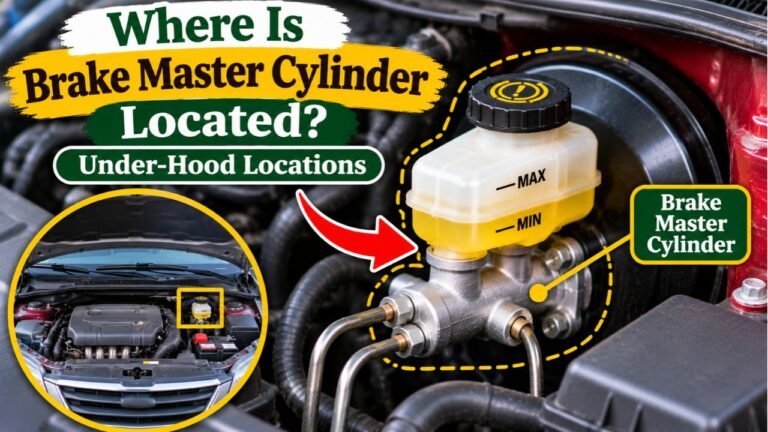
The master cylinder is commonly mounted on the brake booster at the rear of the engine compartment, near the driver’s side. Rigid metal lines leave its ports toward the ABS unit or wheel brakes.
A flare nut holds the shaped end of each brake tube against a matching seat inside the port. Loosening the nut releases the tube without requiring you to cut or twist it. Turn the nut, not the tube.
Safety Note: This guide applies to typical, nonpressurized conventional hydraulic systems with the ignition off. Some hybrid, electric, and brake-by-wire systems have powered pumps or stored hydraulic pressure even when the vehicle is parked. Identify the system and follow its manufacturer’s shutdown and depressurization procedure before opening a line. If that procedure is unavailable, have a qualified technician perform the work.
Tools Needed to Disconnect Master Cylinder Brake Lines
Gather supplies first; open fittings can leak fluid and collect dirt.
- Flare nut wrench (line wrench): Choose the exact size that fits the tube nut tightly; it grips more sides than an open-end wrench.
- Brake cleaner and a clean brush: Remove dirt around the fittings before disconnection.
- Dedicated brake-fluid extractor: Optional, for lowering fluid in the reservoir when required by the repair procedure.
- Brake-line caps and master cylinder port plugs: Use clean parts intended for hydraulic brake connections.
- Safety glasses, chemical-resistant gloves, and shop towels: Protect eyes, hands, and nearby painted surfaces.
- Catch container and fresh specified brake fluid: Collect drips and prepare for the refill and bleeding process.
- Penetrating oil: Use sparingly on external rusty threads only, before opening the hydraulic connection.
A flashlight and a torque wrench with the proper attachment may also help.
Locate and Prepare the Master Cylinder Connections
Identify the Correct Metal Brake Pipes
Trace each tube to identify the brake lines. Some vehicles have two main outlet lines, while others have additional connections or an attached distribution assembly. The reservoir above the cylinder may also supply a hydraulic clutch on manual-transmission vehicles.
Take a photo before removal. If multiple lines have different routes, label them so each returns to its original port. Similar-looking fittings aren’t necessarily interchangeable.
Protect the Work Area Before Opening a Line
Park on level ground, switch off the vehicle, secure it against movement, and let nearby components cool. For a typical vacuum-assisted system, the service manual may direct you to press the brake pedal several times with the engine off to release booster vacuum. This does not replace specialized depressurization procedures on powered systems.
Cover nearby paint and electrical connectors. Clean around the reservoir cap and tube fittings. If the service procedure calls for reducing the reservoir level, withdraw some fluid using a tool reserved for brake fluid, and keep the fluid out of the paintwork. Do not let an otherwise serviceable master cylinder run dry unnecessarily.
How to Remove Brake Lines From Master Cylinder Step by Step
Step 1: Confirm the Fitting Size
Slide the opening of the flare nut wrench over the metal tube and seat the wrench fully on the fitting’s flat sides. The wrench should not rock or slip. Many cars use metric fittings, but the size depends on the vehicle. Don’t choose a tool by appearance alone.
A snug wrench helps avoid damaging the small tube nut. O’Reilly Auto Parts’ brake line replacement instructions also demonstrate loosening brake-line flare nuts with a line wrench and protecting the open connection with a plug.
Step 2: Loosen the Flare Nut Carefully
Place the wrench squarely on the nut. Apply steady force in the loosening direction rather than striking the wrench or using a long extension immediately. On a normally threaded connection, the nut loosens counterclockwise when viewed directly from the nut’s outer end.
Watch the brake tube while applying force. The nut should rotate around the tube. Stop if the tube begins twisting with the nut; continued turning can kink or fracture the line.
Step 3: Back the Nut Out by Hand
Once the fitting loosens, turn the nut by hand if possible. It should gradually travel away from the master cylinder along the tube.
If it tightens again, check for thread damage or rust. Forcing a stubborn fitting can strip the threads in the master cylinder port, especially on an aluminum housing.
Step 4: Separate the Brake Tube From Its Port
Once the nut is fully unthreaded, pull the tube end straight back just enough to clear the port. Use gentle hand pressure and allow for the tube’s original bends. Do not pry against the master cylinder or yank the line sideways.
If it stays seated, check that the nut is free and inspect nearby brackets. Keep the tube’s shape intact for correct alignment during reassembly.
Step 5: Catch the Fluid and Cap Both Openings
Place absorbent towels below the fitting and catch brake fluid in a suitable container. Immediately fit a clean brake-compatible cap over the tube end and an appropriate plug into the master cylinder port. Avoid stuffing paper, dirty rags, or makeshift material into a hydraulic opening.
Keep contaminants off the sealing surfaces. If fluid lands on painted body panels, flush it off promptly with water and clean the area as recommended by the vehicle manufacturer.
Step 6: Repeat for the Remaining Lines
Disconnect the other line or lines one at a time, noting their positions. Some are short, specially bent sections that lead directly to an ABS module. Do not bend these outward just to create working space.
When removing the complete master cylinder, disconnect related connectors and hoses before undoing its mounts. The line-removal step does not automatically mean the whole master cylinder must come off.
How to Remove a Stuck or Rusted Brake Line Fitting
Free a Nut That Will Not Turn
Corrosion can bond the nut to the metal tube. First clean loose rust from the accessible fitting. Apply a small amount of penetrating oil to the exterior threaded area, allow time for it to work, and wipe away residue before the hydraulic port is opened.
NAPA’s wheel cylinder repair guide describes using penetrating oil and a line wrench on corroded hard-line fittings. Although its example concerns a wheel cylinder, the same problem can occur where a rigid line meets the master cylinder.
Try gentle back-and-forth movement only if the nut turns independently of the tube. Don’t use an open flame or uncontrolled heat near brake fluid, wiring, and rubber components.
Stop if the Flare Nut Starts to Round
Stop immediately if the wrench slips or the hex begins rounding. Recheck wrench size and whether there is enough room to seat it fully. A quality six-point flare nut wrench or an appropriate specialty tool may help when the hex remains usable.
Locking pliers can crush the fitting and are generally a last-resort removal method when the line or nut will be replaced. If corrosion has bonded the nut to the tube, replacing the affected pipe is often safer than twisting it loose. Cutting a brake line should be reserved for a planned replacement using the correct new line, fittings, and flare type.
Inspect the Brake Line End and Master Cylinder Port
Before reconnecting anything, inspect the exposed tube end under good lighting. The flare should be evenly formed, with no splits, dents, crushed edges, or deep corrosion. Check that the nut still slides and rotates freely on the tube and that its threads are intact.
Look inside the master cylinder port without introducing debris. The seat must be clean and undamaged. A scratched sealing surface may continue leaking even after the fitting is tightened. Do not scrape the seat with a screwdriver or attempt to seal damage using tape.
Replace a twisted, kinked, or cracked pipe using brake-rated parts and proper tools; don’t straighten and reuse a damaged hydraulic line. Also replace any fitting with compromised threads rather than forcing it into the port.
How to Reconnect Brake Lines to the Master Cylinder
Reinstallation requires more care than simply tightening the nuts. The flare at the end of the brake pipe creates the hydraulic seal against the port’s seat. The threads hold those surfaces together; they are not the sealing surface.
Check that each line reaches its original port without force. Align the tube squarely and start the nut by hand for several turns. If it resists immediately, back it out and correct the alignment. Cross-threading can damage an otherwise usable master cylinder.
Brake systems may use SAE inverted double flares or ISO bubble flares, along with different thread sizes and seats. They cannot be substituted based only on thread fit. Do not apply Teflon tape, pipe sealant, or general-purpose thread-locking compound to ordinary brake line flare fittings.
Tighten with the proper line wrench to the exact specification for your vehicle and connection. Over-tightening can distort the flare or damage the port, while under-tightening can leak. Never substitute an estimated torque value from a different vehicle. If an adapter changes the effective length of a torque wrench, follow the tool manufacturer’s torque correction instructions.
Bleed the Brakes After Disconnecting the Master Cylinder Lines
Opening a brake line can admit air into the hydraulic circuit. Air compresses under pedal pressure, making braking soft or inconsistent. The vehicle is not ready to drive simply because the fittings have been reattached.
AutoZone’s guide to bleeding a master cylinder explains why air must be removed after brake hydraulic work and why the reservoir should not be allowed to empty during bleeding.
For a conventional system, the general follow-up process is:
- Fill the reservoir with fresh brake fluid of the specification shown on the cap or in the owner’s manual. Do not reuse the fluid collected during removal.
- If replacing the master cylinder, bench-bleed the replacement according to its instructions before connecting the vehicle lines. If the existing cylinder has admitted air, follow the specified master-cylinder bleeding method.
- Bleed the affected hydraulic circuits using the vehicle’s approved sequence and method. With manual bleeding, close each bleeder before the assistant releases the pedal.
- Monitor the reservoir throughout the job. Refill before the fluid falls low enough to admit additional air.
- Continue until the prescribed bleeding procedure is complete and the pedal response is correct.
Do not assume every vehicle uses the traditional farthest-wheel-first order. Some ABS systems require a different sequence, and trapped air inside an ABS hydraulic unit may require a scan tool to operate internal valves. Electronic brake systems can require even more specific service procedures. Follow the factory instructions rather than improvising.
Check for Leaks Before Driving
Wipe the fittings and surrounding metal dry so new seepage is easy to see. Check the reservoir level, inspect every disturbed line connection, and make sure any electrical plugs or brackets removed for access are secure.
On a conventional system, apply steady brake pedal pressure while someone observes the fittings from a safe position. Any seepage, fluid loss, or sinking pedal needs correction. Don’t simply keep tightening a leaking fitting; inspect its alignment, flare, and seat first.
Confirm the pedal has the response expected for that vehicle. If any warning light remains on, the pedal feels spongy, or the brake system cannot pass the manufacturer’s checks, do not drive the car. After a successful static inspection, perform only the recommended low-speed brake test in a clear, controlled area before returning to normal traffic.
Conclusion
Knowing how to remove brake lines from master cylinder connections comes down to three habits: use the correct flare nut wrench, keep the metal tube from twisting, and protect every opened hydraulic port from contamination. A stuck or damaged fitting is a reason to stop and inspect, not to apply more force.
Reconnect each line by hand before tightening to its specified torque, then complete the required brake bleeding and leak checks. The procedure is manageable on many conventional vehicles, but uncertain fitting damage or an electronically controlled brake system is a good reason to involve a qualified brake technician.
FAQs About How to Remove Brake Lines From Master Cylinder
Can I Use a Regular Wrench to Remove a Brake Line?
Use a correctly sized flare nut wrench instead of an open-end wrench. Its wider grip reduces the risk of rounding the nut.
Will Brake Fluid Leak Out When I Disconnect the Line?
Yes. Catch drips, protect painted surfaces, and promptly cap the pipe and master cylinder port with clean brake-compatible parts.
Do I Have to Remove the Master Cylinder to Disconnect Its Lines?
No. On most conventional vehicles, the line fittings can be loosened while the master cylinder remains bolted to the booster. Removing the complete assembly is necessary only when the repair calls for it.
Can I Reconnect a Brake Line That Was Slightly Bent During Removal?
Only if it remains undamaged and can be aligned without stress. A sharp kink, distorted flare, crack, or severely corroded section requires replacement or a properly performed brake line repair, not a forced reconnection.
Do I Need to Bleed the Brakes If I Removed Just One Line?
Yes, follow the manufacturer’s prescribed bleeding procedure for any circuit opened to air. The amount of bleeding depends on the vehicle, how much air entered, and whether the reservoir or ABS hydraulic unit was affected.