Can You Weld Brake Rotors: When It Works and What to Check First
Yes, a brake rotor can technically be welded, but welding is almost never a safe or acceptable repair for a road-going vehicle. A cracked, badly damaged, or heat-distorted rotor should normally be replaced rather than welded. This article explains why the material, location of the damage, braking forces, and required safety margin make such a difference.
A brake rotor may look like a simple metal disc, yet it is a precision component that must remain flat, balanced, and firmly attached to the wheel hub. Most are made from cast iron, which can be difficult to weld without cracking, hard spots, distortion, or hidden residual stress. A repair that appears solid on the bench can fail when repeated braking generates intense heat and vibration.
Consider two similar-looking situations: a small surface mark on an unused rotor may be a harmless casting imperfection, while a hairline crack running from a vent, drilled hole, or mounting area is a serious replacement issue. A rushed decision can overlook runout, imbalance, metallurgical damage, or a crack that extends beneath the weld. The sections below compare what can and cannot be repaired, explain the risks of welding cast iron, identify damage that requires immediate replacement, and show what to check before deciding whether the rotor is usable.
Why Brake Rotors Are Poor Welding Candidates
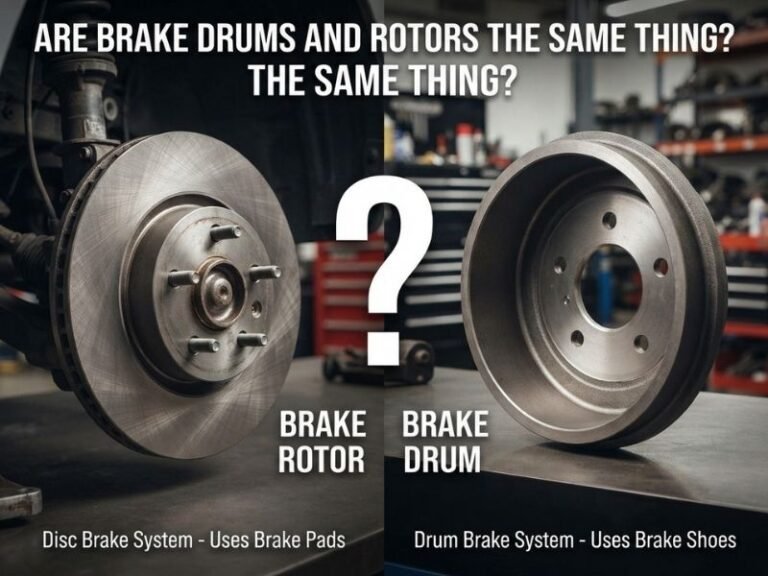
Brake rotors, also called discs, commonly use gray cast iron because it handles friction, heat, and compression well. That same material contains graphite flakes and has less ductility than ordinary mild steel, so it does not tolerate rapid heating and cooling as easily.
Welding introduces a concentrated heat source into a component designed to dissipate heat evenly. The area next to the weld can cool at a different rate from the surrounding rotor, creating residual stress. Cast iron may crack beside the weld, develop a hard heat-affected zone, or distort enough to cause brake pulsation.
The rotor also has a demanding job. It must maintain a consistent friction surface while rotating at high speed, withstand clamping force from the brake pads, and transfer braking torque through the hub or wheel mounting face. A weld does not automatically restore the original strength, balance, thickness, or metallurgy.
Even if a skilled welder produces a visually attractive bead, that does not prove the repair is safe. Proper evaluation may require controlled preheating, compatible filler metal, slow cooling, machining, hardness checks, crack inspection, and dynamic balancing. Those procedures are generally impractical for an ordinary passenger-car rotor and still may not provide an approved repair path.
When Welding Might Be Technically Possible
There are limited situations in which cast-iron welding is performed on industrial parts, machinery, or noncritical components. A specialist may repair a casting using nickel-based filler, controlled temperatures, and careful cooling, but that context is different from repairing a rotating automotive brake component.
A rotor could theoretically be welded for a non-operational display, a mock-up, a low-speed fabrication project, or certain industrial applications where an engineer has specified the repair method. In those cases, the person responsible for the equipment must define the material, welding procedure, inspection standard, machining requirements, and replacement criteria.
That possibility should not be confused with a practical repair for a street vehicle. Automotive brake manufacturers generally design rotors as replaceable wear parts, and the finished component must meet precise dimensional and safety requirements. A general welding shop may be able to join the metal, but joining metal is not the same as certifying a brake rotor.
Welding a nonfunctional cosmetic rotor is also different from welding a rotor that will carry braking loads. If the part will ever be installed on a vehicle, treat cracks, broken sections, and major damage as replacement conditions unless a qualified brake or engineering specialist gives a specific, defensible approval.
Damage That Should Not Be Welded
Some defects are especially dangerous because they affect the rotor’s ability to contain heat and transmit braking force. Do not attempt to weld over damage simply because the crack is narrow or the vehicle still stops.
- Cracks through the friction ring: A crack in the swept area can grow under heat and repeated braking, potentially separating part of the rotor.
- Cracks from drilled holes or slots: Cross-drilled and slotted rotors can develop stress cracks around openings, especially after overheating or improper machining.
- Cracks at the hat or hub mounting area: Damage here can affect wheel retention, rotor location, and clamping stability.
- Broken or fractured cooling vanes: Internal vane damage can reduce heat transfer and create imbalance or weak areas.
- Severe grooves or deep scoring: Machining cannot always restore a rotor that has lost too much material or has been cut beyond its minimum thickness.
- Blue, purple, or heavily heat-spotted surfaces: Discoloration can indicate overheating, though color alone does not diagnose the rotor’s condition.
- Loose sections or visible separation: Any movement between the friction ring, hat, or other structural portions is a replacement issue.
A weld may cover the visible opening while leaving a crack at its tip. Because brake rotors cycle between high temperatures and cooling periods, the repaired area can reopen or cause a new crack next to the weld.
Warping, Runout, and Other Misdiagnosed Problems
Drivers often say a rotor is “warped” when the brake pedal pulses or the steering wheel shakes during braking. True permanent warping is less common than disc thickness variation, uneven pad material transfer, lateral runout, corrosion, or a hub-mounting problem.
Welding will not correct any of those conditions. A rotor may feel uneven because the wheel hub is rusty, the wheel was installed with uneven lug torque, the caliper is sticking, or the rotor has developed thickness differences from uneven friction. Adding weld metal can make the runout and balance worse.
A qualified technician should inspect the complete brake assembly before identifying the rotor as the cause. Useful checks can include rotor thickness at multiple points, lateral runout with a dial indicator, hub-face cleanliness, caliper operation, pad condition, wheel-bearing play, and lug-nut torque.
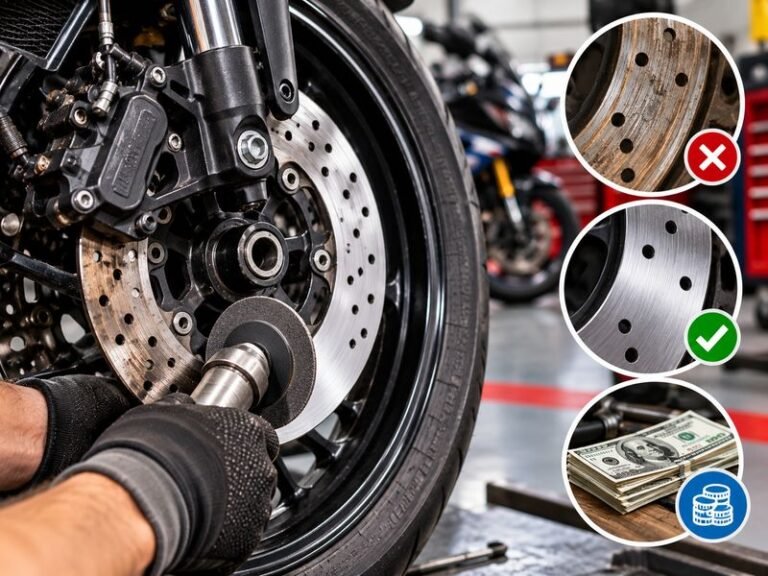
Some rotors can be resurfaced if they remain above the manufacturer’s minimum thickness and have no cracks or structural damage. Resurfacing is a machining operation that removes a controlled amount of material; it is not a substitute for welding and is not appropriate when the rotor is too thin, deeply damaged, or heat-compromised.
What to Check Before Replacing or Inspecting a Rotor
Start with a visual inspection, but do not rely on appearance alone. Remove the wheel only if the vehicle can be safely supported, and never work beneath a vehicle supported only by a jack.
- Look for cracks. Inspect both friction faces, the outer edge, cooling vanes, hat section, and areas around drilled holes or slots.
- Check the rotor thickness. Compare the measurement with the minimum thickness marked on the rotor or specified for the vehicle. Do not assume a thick-looking edge means the friction surfaces are within limits.
- Inspect the mounting face. Rust, scale, debris, or burrs between the rotor and hub can create runout and mimic a defective rotor.
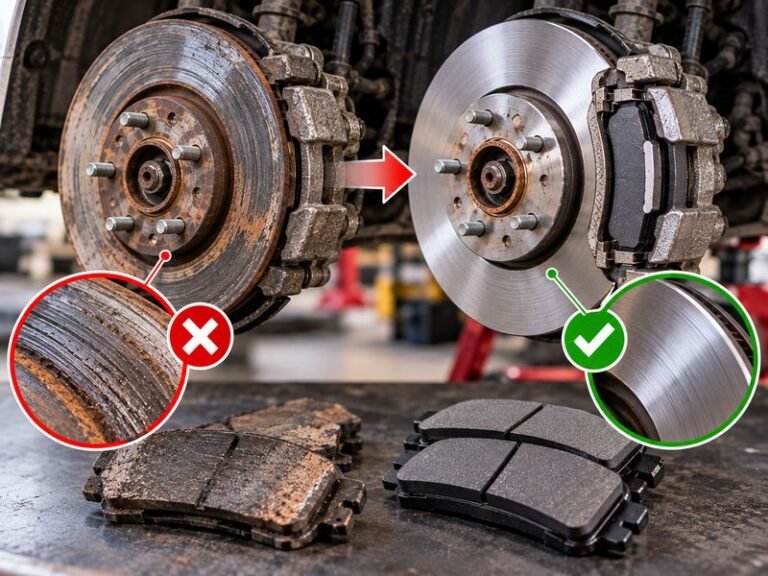
- Check for severe scoring or heat spots. Light surface rust after the vehicle sits is usually different from deep grooves, repeated hot spots, or material transfer.
- Assess the pads and caliper. Uneven pad wear, a seized slide pin, or a sticking piston can cause the rotor to overheat again.
- Measure runout when symptoms suggest it. A dial indicator and the correct service limit are more reliable than judging pedal pulsation by feel.
Do not touch a recently driven rotor to judge its temperature. Brake components can remain hot enough to cause serious burns, and spraying water on an overheated rotor can produce rapid thermal shock.
Why a Welded Rotor Can Fail on the Road
The greatest concern is not merely that the weld might break. A repaired rotor can fail in several less obvious ways, including cracking beside the weld, losing balance, developing excessive runout, or creating a hard area that wears the pad unevenly.
Any imbalance produces centrifugal force as the rotor spins. At road speed, even a relatively small mass difference can cause vibration, bearing load, and inconsistent contact between the pads and friction surfaces. Brake vibration may then be mistaken for a wheel or tire problem.
Heat makes the situation more demanding. During repeated stops, the friction ring expands and contracts while the welded area and surrounding casting respond differently. This thermal cycling can turn a stable-looking repair into a progressive crack.
A rotor failure can reduce braking performance without giving much warning. The driver may experience noise, pedal pulsation, pulling, or a sudden change in pedal feel, but none of those symptoms provides a dependable safety margin. Because the part is relatively easy to replace compared with the consequences of failure, replacement is the sensible repair for a damaged automotive rotor.
Can a Broken Rotor Hat or Mounting Area Be Repaired?
A broken hat, fractured mounting section, or damaged wheel-stud area should not be treated as a routine welding job. The hat centers the rotor on the hub, and its mounting surfaces must remain square and dimensionally accurate.
If the rotor does not sit flat against the hub, the friction ring can wobble as it rotates. If the wheel mounting area is damaged, the wheel may not clamp correctly even when the lug nuts appear tight. Welding can also interfere with the rotor’s balance and create a heat-affected region near a critical load path.
Replace the rotor when the damage involves the hat, hub bore, stud holes, wheel-mounting face, or connection between the hat and friction ring. If the hub itself is cracked or damaged, it requires separate inspection and replacement as necessary; welding a brake rotor does not address a defective hub.
Professional Inspection and Replacement Guidance
A brake professional can distinguish a replaceable wear pattern from a structural defect and can identify the cause of repeated rotor damage. This matters because installing a new rotor without correcting a sticking caliper, contaminated pad, loose bearing, or dirty hub may cause the replacement to fail prematurely.
Ask for the measured rotor thickness, runout reading when relevant, and an explanation of any visible crack or heat damage. A technician should also verify that the replacement rotor matches the vehicle’s application and that the pads, caliper hardware, and mounting surfaces are in suitable condition.
When replacing rotors, the hub face should be clean and free of raised rust or debris. The rotor should seat fully, the wheel should be tightened in the correct pattern and to the vehicle’s specified torque, and the brakes should be bedded according to the pad and rotor instructions when applicable.
If a rotor is cracked, broken, severely overheated, or below its minimum thickness, avoid driving the vehicle except as necessary to have it moved safely. Arrange professional service or transport rather than testing a questionable repair on public roads.
Conclusion: Replace Damaged Automotive Rotors
Although cast iron can be welded under controlled specialist conditions, welding a brake rotor on a road vehicle is generally unsafe and uneconomical. Cracks, broken mounting areas, fractured vanes, severe heat damage, and rotors below minimum thickness call for replacement, not a weld.
Before buying parts, inspect the rotor, measure thickness and runout when needed, clean and check the hub, and look for the caliper or pad problem that caused the damage. The major limitation is that a good-looking weld cannot prove the rotor is balanced, dimensionally correct, or reliable under repeated braking; when structural damage is present, install the correct replacement and have the complete brake system checked.