How to Bench Bleed Brake Master Cylinder: Steps and Mistakes
To bench bleed a brake master cylinder, secure it level in a vise, attach the correct bleeding fittings and return tubes, add fresh brake fluid, and slowly stroke the piston until air bubbles stop appearing. Keep the tube ends below the fluid surface, then install the cylinder and bleed the vehicle’s brake system according to its service instructions.
This procedure is most useful when fitting a new or remanufactured master cylinder. Its internal chambers contain air before they are filled, and that air can make the brake pedal feel soft even after the brake lines have been connected. Trying to push every bubble through the entire brake system wastes time and fluid.
The basic method is simple, but details matter. An incorrect fitting can admit air, a low fluid level can undo the work, and some master cylinder designs need a different piston stroke or bleeding method. This guide covers the necessary tools, the tube-and-fluid procedure, an alternative plug method, common bleeding problems, and the checks required before driving.
Why You Should Bench Bleed a Brake Master Cylinder
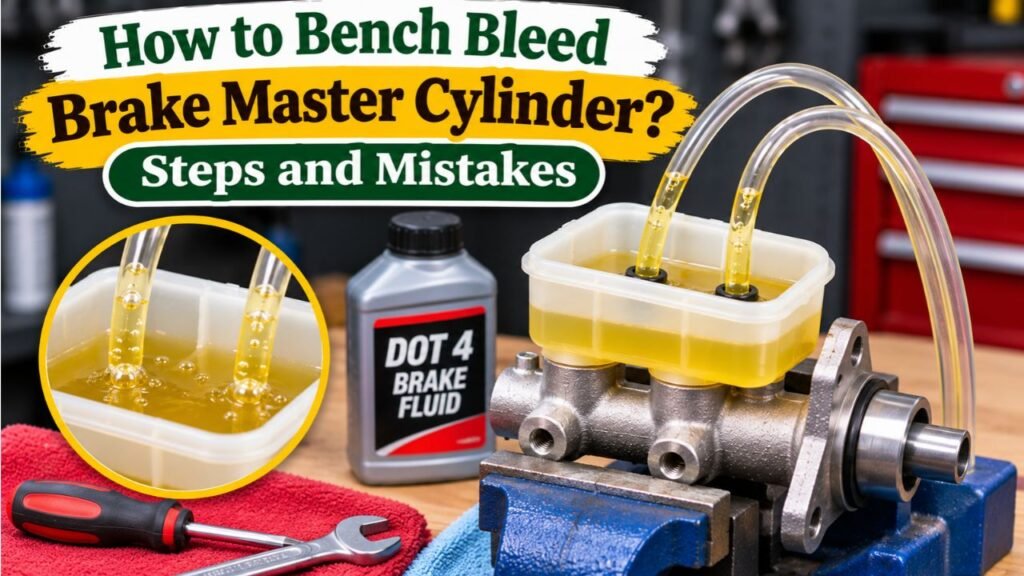
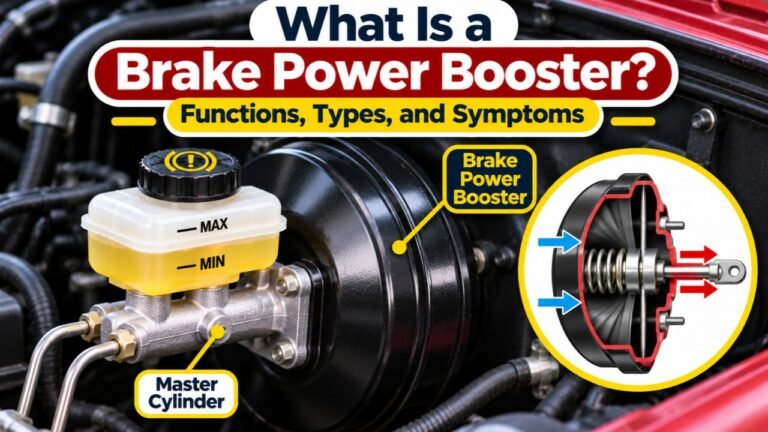
The master cylinder converts pedal movement into hydraulic pressure. Tandem cylinders have two circuits, and air may collect in both chambers.
Brake fluid transfers force effectively because it is nearly incompressible under normal operating conditions. Air compresses much more readily. When the pedal moves, some of that movement compresses trapped air instead of producing the expected braking pressure, which can create a long or spongy pedal.
Bench bleeding fills these chambers before the brake lines are attached. However, it does not replace bleeding the complete system after installation. Air may still enter during reconnection.
Before adding fluid, compare the replacement part with the old one: check its flange, outlets, fittings, connectors, reservoir, and pushrod contact.
When Does a Brake Master Cylinder Need Bench Bleeding?
Bench bleeding is normally part of installing a new or remanufactured master cylinder. It may also be needed after an approved repair or rebuilding procedure has left the cylinder empty. The goal is to prime the hydraulic chambers before reconnecting the rest of the brake system.
Routine pad replacement, topping off a properly functioning reservoir, or a fluid change that keeps the master cylinder filled does not ordinarily require removing it for bench bleeding. Those jobs have their own service and bleeding procedures.
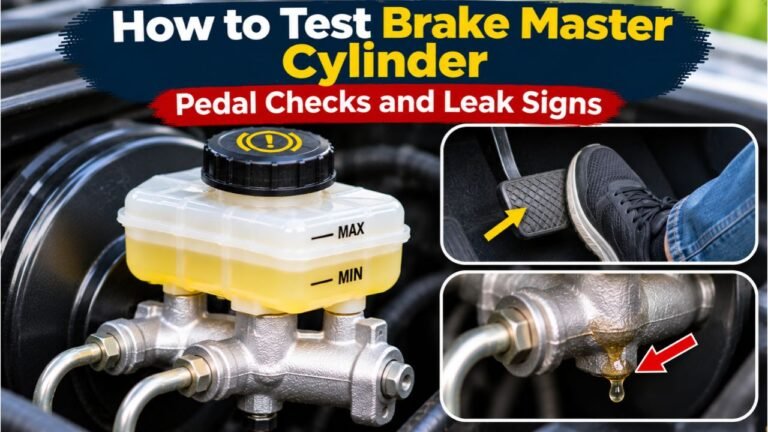
If an existing cylinder loses fluid through a rear seal or allows the pedal to sink because of internal bypass, bleeding will not fix the underlying defect. Diagnose and correct the failure before trying to obtain a firm pedal. Do not reuse a damaged master cylinder simply because the return tubes eventually show no bubbles.
Tools and Brake Fluid Needed for Bench Bleeding
Gather these supplies before opening the fluid bottle:
- A sturdy bench vise with soft jaws or protective pads.
- A master cylinder bench bleeding kit with correctly sized threaded adapters and clear return hoses.
- Fresh brake fluid of the specification required by the vehicle manufacturer.
- A wooden dowel or other smooth, blunt piston depressor.
- Appropriate wrenches, clean shop towels, and a catch tray.
- Safety glasses and chemical-resistant gloves.
- Properly fitting temporary outlet plugs, if your cylinder uses the plug method.
Use only the specified brake fluid from a newly opened, sealed container. Check the owner’s manual or reservoir cap for the required rating, such as DOT 3, DOT 4, or DOT 5.1. Do not substitute DOT 5 silicone fluid for a system designed for glycol-based fluid. Do not use power steering fluid, engine oil, or previously drained brake fluid.
Brake fluid can damage paint. Protect nearby finishes, promptly clean spills as recommended, and prevent contamination. Never use fittings that could damage outlet threads.
How to Bench Bleed Brake Master Cylinder Step by Step
The return-hose method sends fluid and air from the outlet ports back into the reservoir through clear tubing. Your exact part instructions take priority.
1. Secure the Master Cylinder Level in a Vise
Clamp the cylinder by its mounting flange, not around the main body or reservoir. Use soft jaws and just enough pressure to keep it from moving when you press the piston. Excessive force can distort the casting or damage a plastic reservoir.
Keep the cylinder level, the reservoir upright, and enough room behind the piston to move it straight.
2. Install the Bleeding Fittings and Clear Tubes
Remove shipping caps and select adapters that match the outlet threads and seats. Start each fitting carefully to avoid cross-threading.
Attach clear hoses, return their ends to the proper reservoir chambers, and secure them so they cannot jump out.
Submerge the return tube ends. Use both outlet connections unless the instructions specify otherwise.
3. Fill the Reservoir With Fresh Brake Fluid
Fill both reservoir chambers enough to cover tube ends and feed ports, leaving room to prevent splashing.
Let the fluid settle and inspect fittings for leaks before moving the piston. If a tube end rises out of the fluid, the returning piston may draw air back into the cylinder.
4. Press and Release the Piston Slowly
Place the blunt dowel squarely against the piston or pushrod contact point. Press inward smoothly and allow the piston to return fully and slowly. Watch the clear tubes: the first strokes usually send noticeable air bubbles into the reservoir.
Use the stroke length specified for your master cylinder. For example, Wilwood’s master cylinder bench-bleeding instructions call for full piston travel on the covered models, while some step-bore replacement cylinders require short strokes. Full travel is not a universal instruction for every design.
Never strike the piston, force it beyond its stop, or pump rapidly; pause to avoid foaming.
5. Continue Until the Return Fluid Is Free of Air
Repeat the controlled strokes while keeping the reservoir topped up. Watch both tubes until large bubbles stop recurring.
The goal is steady fluid flow without recurring air pockets. Tiny bubbles on tube walls may remain, but persistent large bubbles call for troubleshooting.
Garage Gurus’ master cylinder bleeding procedure also emphasizes slow piston movement and allowing fluid to settle between strokes. Rushing can introduce small air bubbles that are harder to clear.
6. Keep the Cylinder Filled and Ready for Installation
Once the visible air has been removed, stop moving the piston and check the fittings and reservoir. Keep the cylinder upright. If the kit provides suitable temporary plugs, follow the part instructions for replacing the hoses with those plugs without draining the chambers.
Keep outlets protected and the assembly clean during transfer. A completed bench bleed does not establish that the entire braking system is safe.
How to Bench Bleed With Outlet Plugs Instead of Tubes
Some replacement cylinders are supplied with solid threaded bleeding plugs rather than return hoses. In this method, the plugs close the outlet ports while slow piston movement encourages air to rise through the internal passages into the reservoir.
Hold the cylinder level, install the plugs, add fluid, and slowly stroke the piston as directed. Air rises into the reservoir, and piston resistance usually increases. Resistance alone does not prove the bleed is complete.
Special Procedure for Step-Bore Master Cylinders
A step-bore or quick-take-up master cylinder may have internal valve arrangements that make ordinary bleeding less straightforward. It is especially important not to assume the full-stroke tube procedure applies.
NAPA’s step-bore bench bleeding procedure specifies a level cylinder, solid outlet plugs, slow strokes limited to 3/4 to 1 inch, and a 20-second pause between strokes for the quick-take-up design described. These limits belong to that procedure; always check the instructions for your actual part.
The NAPA instructions also call for keeping the plugs installed until the master cylinder is mounted and connecting the brake lines one at a time. This helps reduce fluid loss and the chance of air reentering the outlets.
Why Air Bubbles May Keep Appearing During Bench Bleeding
Persistent bubbles do not automatically mean the cylinder is defective.
Loose Adapters or Exposed Tube Ends
A poorly seated adapter can let air enter around the connection. Remove and reseat it if necessary, using the correct thread and sealing surface. Similarly, a hose that slips above the fluid line allows air to return on the release stroke.
Piston Strokes That Are Too Fast
Fast pumping can foam the fluid and recirculate bubbles. Slow down and use the specified stroke and pause.
A Master Cylinder That Is Not Level
On an angled bench setup, an air pocket may collect away from the outlet or return passage. Correct the mounting angle as instructed rather than shaking a fluid-filled unit or creating a spill. Some unusual or remote-reservoir configurations have their own on-vehicle procedure.
Internal Leakage or the Wrong Replacement Part
If the unit cannot develop the expected resistance using an approved plugged-port test, or fluid leaks from the rear seals, stop and check the replacement instructions. A faulty cylinder, damaged seal, incorrect part, or internal valve issue may be involved. Do not treat endless bleeding as a repair for a defective component.
Installing the Bench-Bled Master Cylinder on the Vehicle
Clean the mounting surfaces and fittings. Verify the pushrod, seals, spacers, and adjustments match the replacement requirements.
- Mount the cylinder on the vehicle using the approved hardware and torque specifications.
- Remove each temporary outlet plug or bleeding fitting only when ready to connect its corresponding brake line.
- Start line nuts by hand to avoid cross-threading, then tighten them to the vehicle’s specifications with an appropriate line wrench.
- Refill the reservoir as needed, keeping the specified fluid away from contaminated surfaces.
- Follow the vehicle’s service procedure to bleed the hydraulic system and verify every connection is leak-free.
Avoid assuming that the nearest outlet connects to the nearest brake line. Hydraulic circuit routing varies, and incorrect connections can compromise braking. Never use thread-sealing tape on a brake line flare connection unless a specific approved fitting design explicitly calls for it.
Some repairs require bleeding at the outlets. Follow the manual: pressurized fluid can spray from loosened fittings.
Do You Still Need to Bleed the Brakes After Bench Bleeding?
Yes. Bench bleeding removes air from the master cylinder itself, not necessarily from the vehicle’s hydraulic circuits. Even a carefully filled master cylinder can admit air when its outlet fittings are disconnected and brake lines are attached.
Bleed the remaining system in the order required by the vehicle manufacturer. Do not automatically follow the familiar right-rear, left-rear, right-front, left-front sequence: some vehicles use different hydraulic circuits and require another order.
For vehicles with antilock brakes (ABS), consult the exact service procedure. Depending on the model and whether air reached the ABS hydraulic control unit, an automated scan-tool bleeding routine or special pressure-bleeding sequence may be required. A conventional pedal-bleeding method may not clear trapped air from every ABS component.
Keep the reservoir above its minimum operating level throughout bleeding. If it runs dry, more air can enter and the process may need to be repeated. Dispose of used brake fluid according to local requirements; never pour it back into the reservoir.
How to Check Your Brakes Before Driving
A bubble-free bench bleed is only one checkpoint. With the engine off, check pedal firmness as directed, then test with power assist if equipped. A pedal that sinks excessively under steady pressure is unsafe.
Inspect the master cylinder outlets, reservoir connections, hydraulic lines, calipers, wheel cylinders, and any disturbed fittings for wetness. Verify the fluid level and close the reservoir cap properly. Do not move the vehicle if the pedal travels unusually far, remains spongy, sinks under sustained pressure, or any leak appears.
Once the brakes pass the stationary checks and the manufacturer-required bleeding procedure, make the initial functional test only in a controlled area away from traffic and people. If anything feels abnormal, stop immediately and have the system inspected by a qualified brake technician.
Conclusion
Knowing how to bench bleed brake master cylinder assemblies correctly makes master cylinder replacement more predictable and reduces the amount of air left for the vehicle’s hydraulic bleed. The usual method uses a level vise-mounted cylinder, properly fitted return tubes, fresh fluid, and slow piston strokes until bubbles stop.
The most important detail is to follow the procedure for the particular cylinder. A conventional tube setup and a plugged step-bore unit may require different piston travel. Keep the outlets protected during installation, complete the vehicle-specific brake bleeding sequence, and confirm a firm, leak-free pedal before driving.
FAQs About How to Bench Bleed Brake Master Cylinder
Can You Bench Bleed a Master Cylinder Without a Vise?
Sometimes. A suitable mounting bracket or other secure, level fixture may work if the manufacturer permits it. Do not hold a fluid-filled cylinder loosely while pushing the piston, since movement can cause spills or poor bleeding.
How Long Does It Take to Bench Bleed a Master Cylinder?
There is no fixed stroke count or time. Many conventional cylinders clear after several slow strokes, while designs with special valves may need additional pauses. Continue until the manufacturer’s completion criteria are met.
Can You Bench Bleed a Master Cylinder on the Car?
Some cylinders can be bled in place when their design and the vehicle allow adequate access, correct orientation, and the required piston travel. Follow the part’s instructions; a tilted installation may trap air that is easier to remove on a bench.
What Happens if You Skip Bench Bleeding?
Air initially contained in the replacement master cylinder can enter the brake lines, making the full hydraulic bleeding process longer. The pedal may remain soft until all of that air is removed.
Should the Master Cylinder Piston Be Pushed All the Way In?
Only if the specific cylinder’s instructions require full travel. Other designs, including some step-bore master cylinders, specify shorter strokes to protect the mechanism and control the bleeding process.