How to Get Brake Fluid Out of Master Cylinder Safely at Home
You can remove brake fluid from a master cylinder reservoir with a clean fluid-extraction syringe, hand suction pump, or dedicated turkey baster. Keep the reservoir outlets covered with fluid, and refill it with the correct fresh brake fluid before using the brakes.
This is useful when the reservoir is overfilled, you are preparing for a brake fluid flush, or you need to reduce spills before replacing the master cylinder. The job sounds simple, but removing too much fluid can allow air into the hydraulic system. That turns a straightforward extraction into a brake bleeding job.
It also helps to understand what you are actually emptying. The plastic reservoir holds the visible supply of fluid; the master cylinder’s internal chambers and the brake lines contain additional fluid that a syringe cannot reach. Removing fluid from the reservoir alone does not replace the fluid throughout the brakes.
This guide covers the safest removal method, where to stop suction, how to refill correctly, when brake bleeding becomes necessary, what changes during master cylinder replacement, and how to handle the used fluid.
How to Get Brake Fluid Out of Master Cylinder Safely
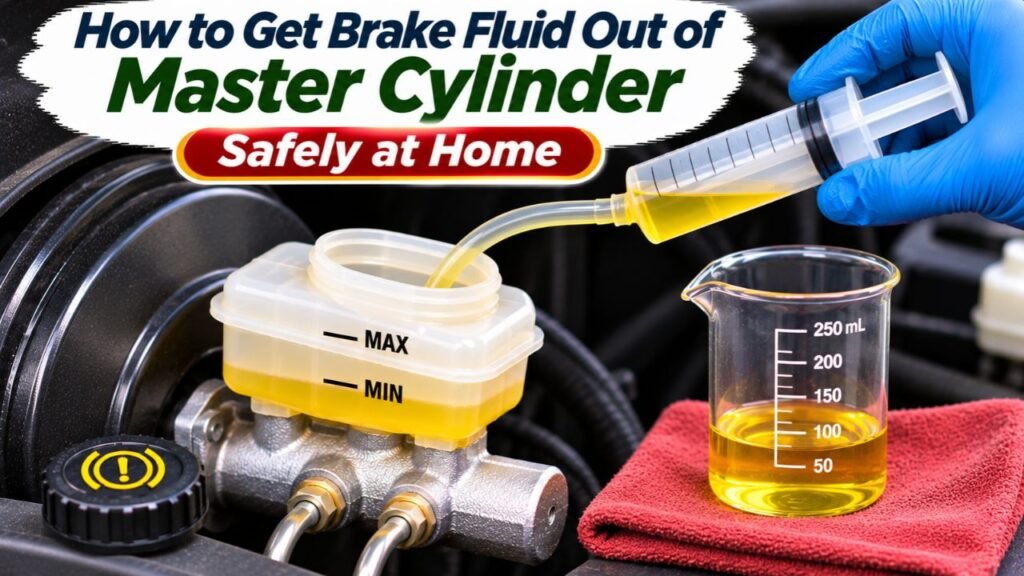
For most cars, the simplest approach is to draw old fluid through the reservoir opening while the engine is off. You do not need to loosen a brake line, operate the pedal, or remove the master cylinder for a basic reservoir extraction.
Tools for Removing Brake Fluid From the Reservoir
Gather everything before opening the cap:
- A clean, brake-fluid-only syringe, hand vacuum extractor, or turkey baster
- A stable, compatible container for collecting used fluid
- Nitrile gloves and safety glasses
- Clean shop towels to protect nearby painted surfaces
- Fresh brake fluid of the specification listed for your vehicle
- A light to see the reservoir level and internal openings
Choose an extractor that has never held oil, coolant, cleaners, or food. Even traces of another liquid can contaminate the brake system. A narrow syringe tip gives more control in small reservoirs, while a hand pump is convenient when the opening is hard to reach.
Step-by-Step Brake Fluid Removal
- Park and secure the vehicle. Stop on level ground, select Park or a gear appropriate for a manual transmission, and set the parking brake. Switch off the vehicle and follow its service instructions, especially if it has an electrically controlled brake pump or accumulator.
- Locate the master cylinder reservoir. On many vehicles it is a translucent plastic container near the firewall, often mounted above the brake master cylinder. Identify it by the brake-fluid markings and cap instructions. Do not confuse it with the clutch, coolant, or power steering reservoir.
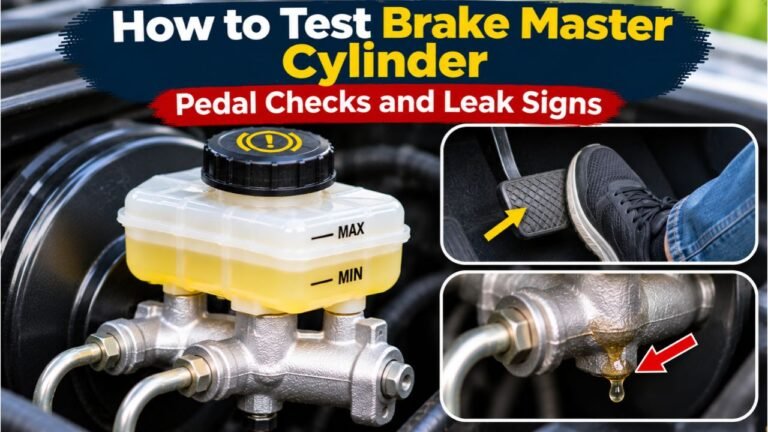
- Check the level before opening it. Look for MIN and MAX marks. If the level is already low, investigate brake pad wear or leaks instead of removing more fluid. If it is overfilled, note how far the level must come down.
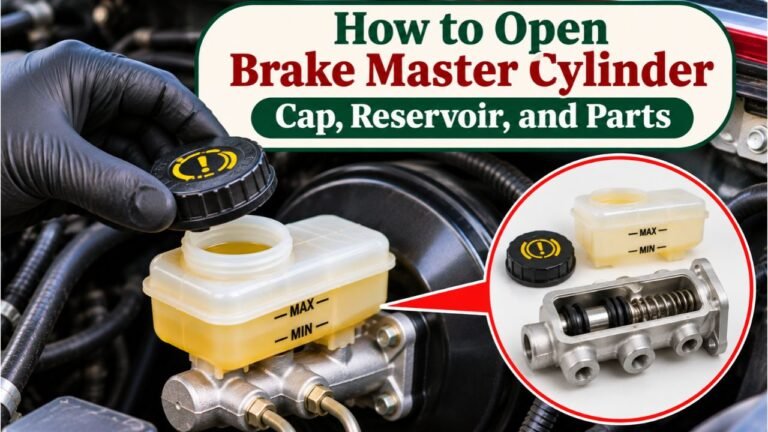
- Clean around the cap. Wipe dirt from the outside of the cap and reservoir so it cannot fall inside. Protect the fender and other painted surfaces with clean towels. Open the cap carefully, keeping its seal and diaphragm clean.
- Draw the fluid out slowly. Lower the clean extraction tip into the visible fluid and withdraw small amounts. Keep the tool away from the reservoir walls, level sensor, internal screens, and any exposed openings. Empty the syringe into your waste container between pulls.
- Stop before exposing the feed ports. If the reservoir is staying on the vehicle, leave enough fluid to keep its outlets submerged. On a divided reservoir, check both compartments. You do not need to chase the last drops from the bottom; leaving a little old fluid is safer than introducing air.
- Refill if you are changing the fluid. Add only the brake fluid required by the owner’s manual, using a clean funnel if needed. Bring the level to the appropriate mark without overfilling. If you only removed an overfill, do not add fluid back unnecessarily.
- Reinstall the cap and clean up. Seat the cap and diaphragm as specified, remove protective towels, and check for drips. Seal the waste container promptly. Never put the extracted fluid back into the brake reservoir.
AutoZone’s brake fluid flush instructions describe using a large syringe or turkey baster to empty old reservoir fluid before refilling and bleeding the system. The key distinction is that reservoir extraction comes before, rather than replaces, a full flush.
Check the Brakes Before Driving
After a simple overfill correction or reservoir-only exchange that kept all outlets submerged, the pedal should feel as it did beforehand. Check the reservoir level again, confirm the cap is secure, and look for leaks or warning lights. Do not drive if the pedal is unusually soft, sinks, or does not produce normal braking. Have the cause diagnosed and the system bled or repaired as needed.
How Much Fluid Can You Remove Without Letting Air In?
There is no safe universal number of ounces to remove. Reservoir size, outlet position, internal partitions, and brake system design vary. The safe stopping point depends on the shape of the reservoir rather than the amount a syringe can hold.
Why the Reservoir Must Not Run Dry
The reservoir feeds the master cylinder’s hydraulic circuits. If an outlet becomes uncovered and the brakes are operated, air can be drawn into a circuit. Air compresses much more than brake fluid and may cause a soft or ineffective pedal.
For a DIY reservoir exchange, a conservative approach is to stop well before the fluid reaches the reservoir floor or the feed openings. Keeping the level at or above MIN is a simple precaution when the reservoir design is unfamiliar, although some designs require additional attention to separated chambers.
Can You Remove the Last Little Puddle?
Usually, there is no reason to. A thin layer of old fluid in the bottom is not worth the risk of contacting seals, dislodging debris, or uncovering an outlet. Avoid pushing a rag or cotton swab deep inside the reservoir; loose fibers can enter small hydraulic passages. If there is heavy sludge or visible contamination, investigate its cause rather than repeatedly scraping the plastic container.
Do You Need to Bleed Brakes After Removing Reservoir Fluid?
Not necessarily. If you only suctioned fluid from the reservoir, kept its outlets submerged, did not press the brake pedal while the level was low, and did not open a hydraulic connection, bleeding normally is not required just because the cap was removed.
| Work Performed | Is Bleeding Needed? | Reason |
| Removing a small overfill | Usually no | The sealed hydraulic circuits remain undisturbed |
| Extracting some reservoir fluid and refilling promptly | Usually no | No air enters if outlets stay covered |
| Opening a master cylinder line or replacing the cylinder | Yes | Hydraulic connections admit air |
| Replacing fluid throughout the brake system | Yes, as specified | Old fluid must be expelled through the circuits |
Why a Reservoir Exchange Is Not a Full Flush
Suction removes only fluid accessible through the filler opening. Old fluid remains inside the master cylinder, ABS hydraulic unit, hoses, calipers, and wheel cylinders. A proper flush moves fresh fluid through the hydraulic circuits and releases the displaced old fluid at the appropriate bleeders.
The correct bleed sequence and method depend on the vehicle. Do not assume every car starts with the rear wheel farthest from the master cylinder. Some ABS systems require a scan tool or special service procedure. If the reservoir ran dry or a warning appears, consult the service manual or a qualified technician before driving.
How to Remove Brake Fluid Before Replacing a Master Cylinder
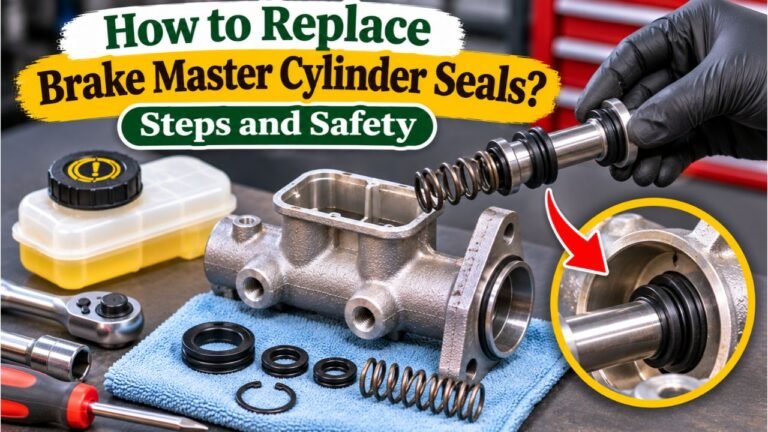
When the master cylinder itself is being removed, extracting reservoir fluid first reduces spills but does not empty the cylinder body. Fluid is trapped in its internal passages and may remain in the connected brake lines.
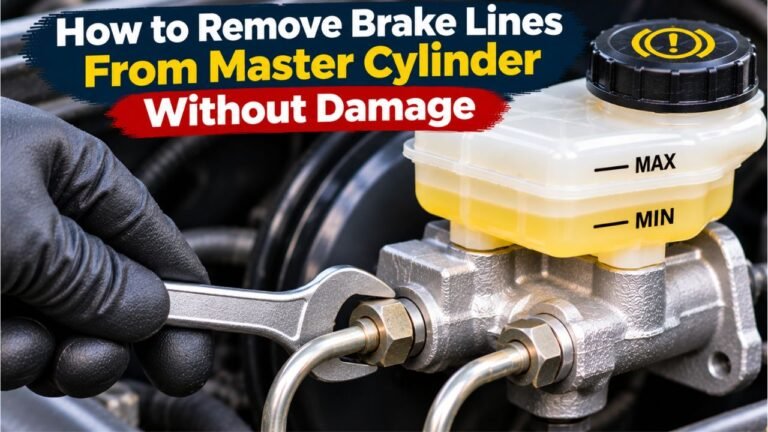
Start by drawing as much fluid from the reservoir as the service procedure permits. Place absorbent protection beneath the cylinder and have approved line plugs or caps ready. Once the correct repair procedure has been confirmed, the brake lines can be disconnected with the specified flare-nut tools; do not loosen them just to drain an otherwise working system.
Removal may also involve an electrical level-sensor connector and mounting fasteners. Follow the vehicle-specific instructions so the brake booster, seals, and line fittings are not damaged. Catch remaining fluid as the component is lifted away, and keep dirt out of every open connection.
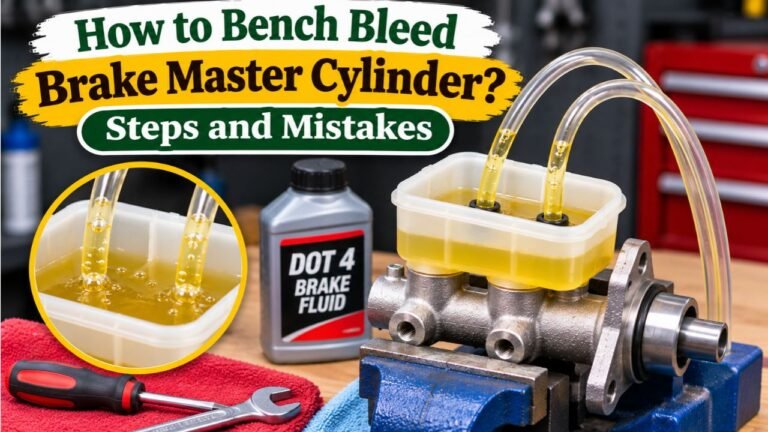
A new or serviced master cylinder commonly needs bench bleeding or an equivalent manufacturer-approved priming procedure before its lines are attached. The hydraulic system then needs the specified bleeding process. If you have not worked on brake hydraulics before, replacement and subsequent testing are better left to a qualified repair shop.
What Brake Fluid Should You Add After Extraction?
Use the specification in the owner’s manual and, when applicable, on the reservoir cap. DOT 3, DOT 4, and DOT 5.1 are generally glycol-based types, while DOT 5 is silicone-based and must not be substituted into a system designed for glycol fluid. Do not assume a higher DOT number automatically makes a fluid suitable for your car.
Toyota’s 2026 bZ owner’s manual lists its approved brake-fluid specifications, notes that brake fluid can absorb moisture from air, and calls for newly opened fluid. Those instructions apply to that model; check your own vehicle’s manual for its requirements.
Open the replacement bottle only when you are ready to refill. Keep the cap clean and close the bottle promptly. Never reuse extracted fluid, even if it looks clear, because moisture or contamination cannot be judged reliably by appearance alone.
What if the Wrong Fluid Entered the Reservoir?
If engine oil, power steering fluid, petroleum products, or another incompatible liquid was added, stop using the vehicle. Do not treat a quick syringe extraction as an adequate repair. Contaminants can reach seals and other hydraulic components, and the proper response may require inspection, replacement of affected parts, and an approved flushing or rebuilding procedure.
Problems to Watch for During Master Cylinder Fluid Removal
Dark Fluid, Sediment, or Unusual Odor
Dark fluid can signal age, contamination, or internal corrosion, but color alone does not prove its moisture content or condition. Visible grit, gelatinous deposits, or separated liquids are stronger reasons to stop and have the system inspected. A syringe will not correct damaged seals or internal corrosion.
Low Fluid or a Level That Keeps Dropping
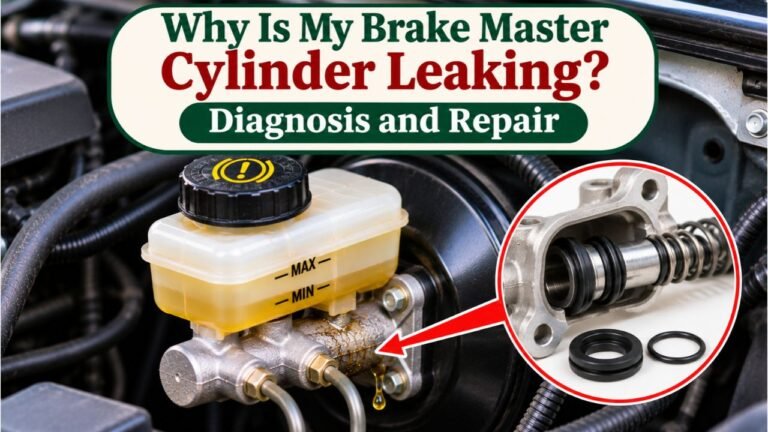
A small level reduction can accompany normal brake pad wear. A level that falls rapidly, requires repeated refilling, or accompanies a change in pedal feel needs investigation. Inspect for worn pads and leaks at calipers, wheel cylinders, hoses, lines, and the master cylinder. Do not simply refill and assume the problem is solved.
Fluid Spills and Contaminated Tools
Conventional brake fluid can damage automotive paint. Catch drips immediately, rinse an affected painted area with plenty of water, and clean it according to the vehicle finish’s care instructions. If fluid contacts your skin or eyes, flush with water; seek medical care for persistent irritation or eye exposure.
Keep extraction equipment separate from oil-change tools. Do not use a mouth-operated siphon, reused kitchen baster, dirty funnel, or solvent-washed tool with uncertain residue. Cleanliness is part of protecting the small passages and rubber components inside the brake system.
Unusual Pedal Feel Afterward
If the pedal suddenly feels spongy or sinks toward the floor, do not attempt a road test. Air may have entered the system, but a leak or master cylinder fault can produce similar symptoms. A technician can check hydraulic integrity and follow any ABS-specific bleeding instructions.
How to Dispose of Old Brake Fluid Safely
Transfer extracted fluid to a tightly closed, compatible, clearly labeled container and store it away from children and pets until disposal. Do not pour it into a sink, gutter, storm drain, soil, or household trash. Avoid mixing it with motor oil, antifreeze, or cleaning solvents unless the receiving waste program specifically instructs otherwise.
King County’s household automotive-fluid disposal guidance specifically lists brake fluid among liquids accepted at hazardous-waste collection sites and advises keeping it separate from used motor oil. Collection rules vary by location, so check your local household hazardous waste program or waste authority before taking it in.
Never store removed brake fluid in an unlabeled beverage bottle. Even a small amount can be mistaken for something safe to drink, and a leaking container can damage surrounding materials.
Conclusion
The simplest answer to how to get brake fluid out of master cylinder reservoirs is to use a clean suction syringe or dedicated extractor while keeping the feed outlets covered. Refill with the exact fluid your vehicle specifies, and never operate the brakes with the reservoir emptied below a safe level.
If you only corrected an overfill without admitting air, no bleeding is normally necessary. Replacing the master cylinder or flushing the entire brake system is different: those jobs require manufacturer-approved bleeding procedures and careful leak checks. If the fluid is contaminated or the brakes feel abnormal, address the underlying problem before driving.
FAQs About How to Get Brake Fluid Out of Master Cylinder
Can I Use a Turkey Baster to Remove Brake Fluid?
Yes, provided it is clean and dedicated permanently to brake fluid work. A purpose-made syringe or vacuum extractor usually offers better control in small or oddly shaped reservoirs.
Can I Drain the Master Cylinder Through Its Reservoir?
Not completely. The reservoir opening gives access to stored fluid, not all the fluid inside the master cylinder’s hydraulic chambers or the connected brake circuits.
Will Removing Brake Fluid From the Reservoir Cause Air Bubbles?
Removing fluid alone does not necessarily introduce air. The danger rises if the outlets become exposed, the pedal or hydraulic pump operates while the level is too low, or a brake line is opened.
Can I Use a Shop Vacuum to Suck Brake Fluid Out?
No. A household or general-purpose shop vacuum is not designed to handle brake fluid, and its hose materials and collected residue may be unsuitable. Use an extractor made for automotive fluids.
Should I Replace All the Fluid if the Reservoir Looks Dirty?
A full brake-fluid service may be appropriate, but first determine whether you are seeing ordinary discoloration or actual contamination. Follow the vehicle’s maintenance schedule, and have unusual deposits or suspected wrong-fluid exposure inspected rather than relying on a reservoir-only exchange.