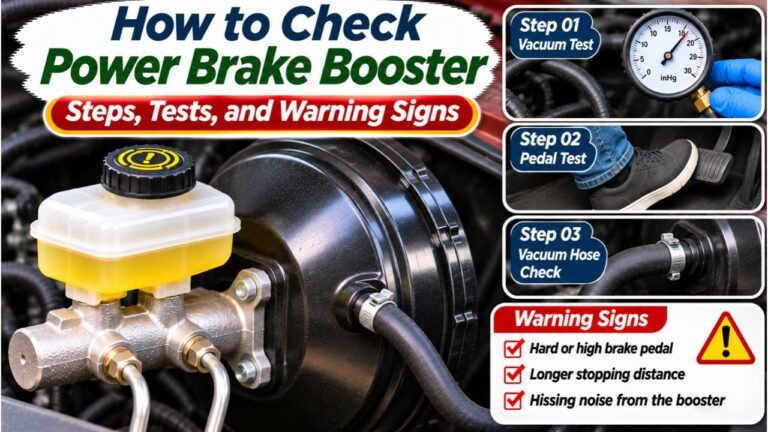
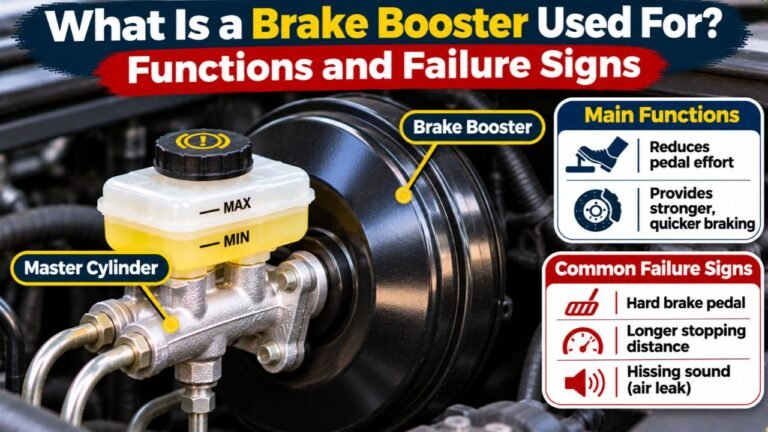
How Much Vacuum Brake Booster Systems Need: Levels and Tests
Many conventional vacuum brake boosters work best with about 18–21 inches of mercury (inHg) of vacuum at the booster supply, but the required amount depends on the vehicle and booster design. Some testing procedures use 15 inHg as a minimum diagnostic checkpoint. Neither number is a universal specification for every car.
A hard brake pedal can indicate low vacuum, a hose leak, a bad check valve, or booster failure. A low gauge reading alone doesn’t identify the failed component; the vacuum source and booster must both be tested.
Vacuum is usually measured at idle with a vacuum gauge, not estimated from how stiff the pedal feels. This guide explains normal readings, why they vary, where to connect a gauge, how to check pedal assist, and which faults can reduce vacuum. It also explains when to stop troubleshooting and arrange a professional brake inspection.
How Much Vacuum Brake Booster Systems Need at Idle
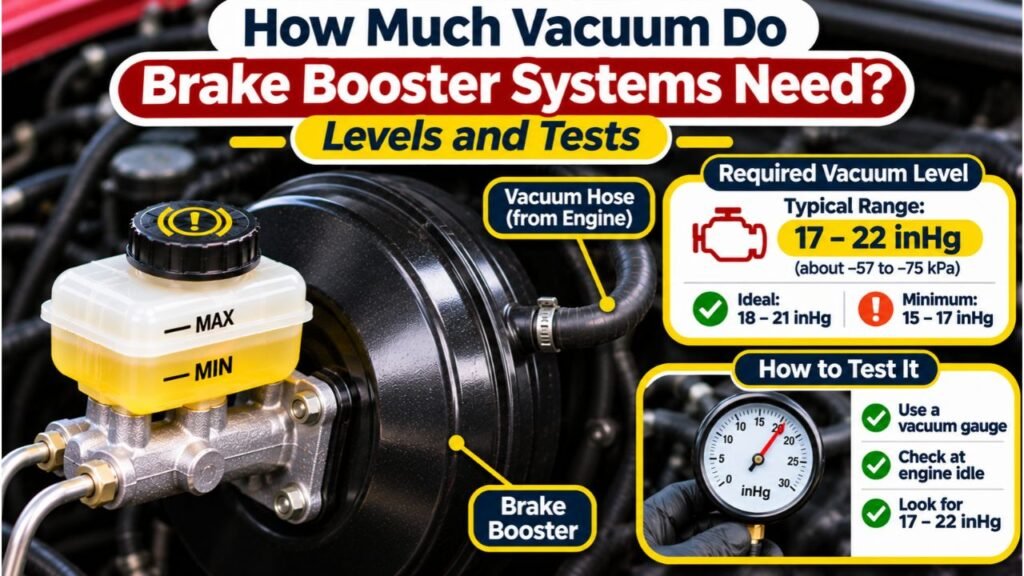
For many traditional engine-powered brake boosters, 18–21 inHg is a useful general operating range at the vacuum supply. CARDONE’s vacuum brake booster diagnostic bulletin identifies that range for normal operation and recommends checking the supply line with a gauge. It also warns that damaged hoses and engine problems can reduce the available vacuum.
That figure describes a common diagnostic target, not a requirement you should impose on every vehicle. Booster size, internal design, engine controls, vacuum pump output, altitude, and manufacturer test conditions all matter. A vehicle may have a different approved operating range or use a vacuum pump to maintain assistance when manifold vacuum is low.
Use service information for the specific year, make, model, and brake system. General ranges cannot override factory specifications.
What Brake Booster Vacuum Gauge Readings Mean
A gauge shows vacuum relative to surrounding atmospheric pressure. A higher inHg reading means a greater pressure difference available to help the booster; it does not automatically prove that the booster or check valve is healthy.
| Gauge Reading at the Booster Supply | General Interpretation |
| Below 15 inHg | Low compared with many conventional diagnostic guidelines; investigate the supply and vehicle specification. |
| About 15–17 inHg | May meet some minimum test criteria, but may provide less assist than a system designed for higher vacuum. |
| About 18–21 inHg | Common normal range for many conventional systems; still verify the exact vehicle requirement. |
| Above 21 inHg | Not automatically excessive or defective; evaluate against the applicable service procedure. |
The Vacuum Power Brake Booster Test worksheet hosted by automotive educator James D. Halderman uses 15 inHg as a minimum checkpoint when a booster fails a basic assist test. That is a diagnostic teaching benchmark, not proof that every vehicle performs normally at exactly 15 inHg.
Readings depend on the measurement point and test conditions. A manifold-port reading may not show what reaches the booster.
Why Vacuum Is Needed for Brake Booster Assistance
The Booster Uses a Pressure Difference, Not Hydraulic Vacuum
In a conventional vacuum booster, a flexible diaphragm or similar internal mechanism separates chambers within a housing. When the brakes are released, the system maintains vacuum across the appropriate chambers. Pressing the pedal operates a valve that admits atmospheric air to one side, creating a pressure difference that helps push the master cylinder.
The booster adds assistance without replacing the master cylinder. Loss of vacuum generally leaves a mechanical braking connection, but much greater pedal force may be required.
Why a Check Valve Stores Reserve Vacuum
The one-way check valve helps prevent air from flowing back into the booster when manifold vacuum drops or the engine stops. This allows some assisted brake applications after shutdown, though the number available varies.
A leaking check valve can let stored vacuum disappear. A leaking diaphragm may produce similar symptoms even with normal supply vacuum. That is why a supply measurement and a vacuum-retention check answer different questions.
Inches of Mercury Versus PSI and kPa
Vacuum gauges commonly display inHg, while some scan tools show kilopascals or pressure values. A vacuum of 18–21 inHg corresponds to roughly 61–71 kPa of pressure difference, or about 8.8–10.3 psi below atmospheric pressure.
This is not brake-line hydraulic pressure and is not the same as tire pressure. Some digital tools show negative gauge pressure, while others show positive absolute pressure; be sure you understand the display before comparing readings. At higher elevations, lower atmospheric pressure can limit the vacuum available from an engine.
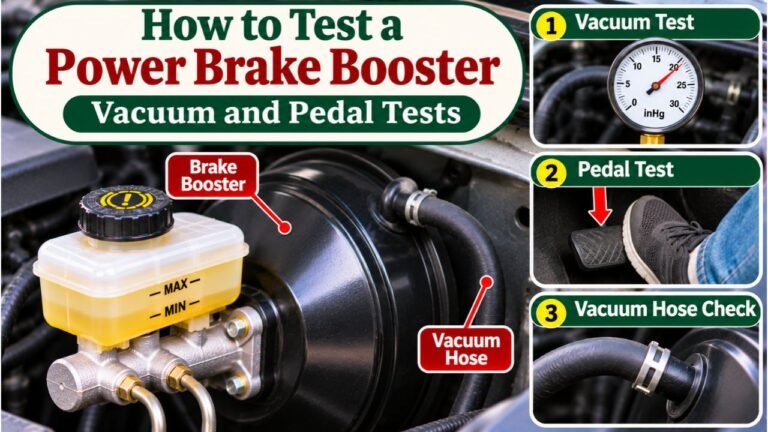
How to Measure Brake Booster Vacuum With a Gauge
The following approach is suitable for understanding a conventional vacuum-operated system. Use the vehicle’s service procedure for the actual hookup, test speed, and acceptable readings. If the hose or adapter arrangement is unfamiliar, have a qualified technician perform the measurement.
Step 01: Park Safely and Identify the Vacuum Supply
Park on level ground, select Park or Neutral as appropriate, apply the parking brake, and secure the vehicle against movement. Work outdoors or with professional exhaust extraction; never idle an engine in an enclosed garage.
With the engine off, locate the brake booster at the firewall and identify the large vacuum supply hose and its one-way check valve. Make sure you are not looking at a hydraulic brake line. Allow hot components to cool before touching nearby hoses.
Step 02: Inspect the Hose Before Connecting the Gauge
Check the vacuum hose for cracks, collapsed sections, loose clamps, disconnected fittings, and oil-related softening. Follow it from the source to the booster where accessible. An obvious split can explain a weak vacuum reading, and connecting a gauge to damaged hose may make the leak worse.
Inspect the check valve and its rubber grommet visually without prying them out unnecessarily. Do not disconnect the master cylinder or open any brake fluid fittings for a vacuum test.
Step 03: Connect the Vacuum Gauge at the Correct Test Point
Use the fitting arrangement specified for the vehicle. On many conventional systems, a suitably rated tee in the supply hose allows the gauge to read vacuum reaching the booster without disabling its normal connection.
Keep connections secure and away from belts, fans, and exhaust heat. An unrelated manifold port may not reveal a restricted booster hose. Never bypass a required check valve.
Step 04: Start the Engine and Record the Stable Reading
With the vehicle secured and the gauge visible from a safe position, start the engine and let it settle at the idle condition specified by the service manual. Record the reading in inHg or the gauge’s displayed unit.
Note whether the needle is steady, fluctuates, or changes as an auxiliary pump cycles. Compare the result with the factory specification and the general ranges above. Avoid repeatedly revving the engine to create a temporary high reading and calling it normal idle vacuum.
Step 05: Check Assist Response and Vacuum Retention
Once the supply reading is known, complete the vehicle’s approved booster functional test. On many conventional systems, the pedal should move slightly downward when the engine starts while you hold steady pressure after exhausting stored vacuum.
Vacuum-retention tests may require special adapters, a gauge connection, and a specified observation period. For example, the Mitsubishi Xpander workshop manual’s booster operating check uses approximately 67 kPa of vacuum and measures the vacuum change over 15 seconds. Those figures apply to the documented test, not to every booster.
Step 06: Restore Connections and Evaluate the Results
Shut down the engine, follow the test equipment instructions, and restore every hose, clamp, valve, and fitting to its original position. Check for leaks or loose connections before operating the vehicle.
If vacuum supply is below specification, inspect the source and hose first. If supply is correct but pedal assistance or vacuum retention fails, the check valve, booster seals, or internal assembly may be faulty. Do not drive if brake pedal effort, travel, or stopping response is abnormal.
What Causes Low Vacuum at a Brake Booster?
Split, Loose, or Collapsed Vacuum Hose
Rubber hoses age, become brittle, and can develop cracks around fittings. Some soften and collapse under suction. Either fault can prevent the booster from receiving the vacuum produced by the engine or pump.
A manifold-side leak can also disturb engine idle. Replace damaged hose with correctly rated parts; soft generic tubing may collapse.
Faulty One-Way Check Valve or Grommet
A check valve that does not seal can allow stored vacuum to escape. A valve stuck closed or installed incorrectly may stop adequate vacuum from reaching the booster. The grommet where the valve enters the booster can also leak.
The valve must be tested according to the service procedure because the correct flow direction depends on its installation. A working check valve cannot compensate for a large leak inside the booster.
Engine Problems or a Performance Camshaft
Engines with low intake manifold vacuum may provide less assistance at idle. Vacuum leaks, mechanical engine problems, incorrect tuning, or a performance camshaft with substantial valve overlap can contribute.
A fluctuating reading is not enough to identify a camshaft or engine defect. Diagnose the engine using the manufacturer’s methods rather than modifying the brake system around an unconfirmed cause.
Weak Auxiliary Vacuum Pump
Some diesel, turbocharged, hybrid, or other vehicles use engine-driven or electric vacuum pumps. A weak pump, faulty control system, damaged line, or insufficient reserve can reduce assistance even when the engine runs normally.
These systems may have specific start-up behavior and diagnostic trouble codes. Do not assume that intake manifold vacuum is the correct source or test point on a pump-assisted vehicle.
How to Check Brake Booster Assist Without a Gauge
This simple stationary test can reveal a possible lack of power assist. It cannot quantify the vacuum or confirm that every part of the brake system is safe.
Step 01: Exhaust Stored Vacuum With the Engine Off
With the vehicle parked and secured, switch the engine off and press the brake pedal several times until the pedal feels consistently firm. You are using up the stored vacuum assistance. The pedal should not travel to the floor; if it does, stop and investigate a possible hydraulic problem.
Step 02: Hold the Pedal and Start the Engine
Keep moderate, steady pressure on the brake pedal while starting the engine. A functioning conventional vacuum booster normally causes the pedal to move downward slightly as assistance becomes available.
If the pedal does not move, insufficient supply vacuum, a blocked hose, a faulty check valve, or the booster itself could be responsible. A single failed pedal-drop test does not identify the defective part.
Step 03: Check Whether Assist Remains Briefly After Shutdown
Allow the engine to run long enough to build vacuum under the manufacturer’s test conditions, then shut it off. Make one or more ordinary pedal applications and observe whether the first press feels assisted before the pedal becomes firmer as reserve is used.
Do not rely on a fixed number of assisted strokes for every vehicle. If reserve disappears immediately, a retention problem is possible, but follow the vehicle’s specified leak test before replacing components.
Signs the Brake Booster Has Too Little Vacuum
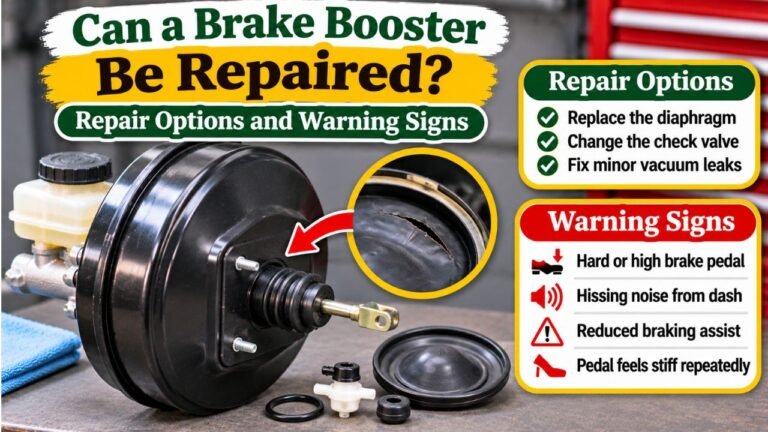
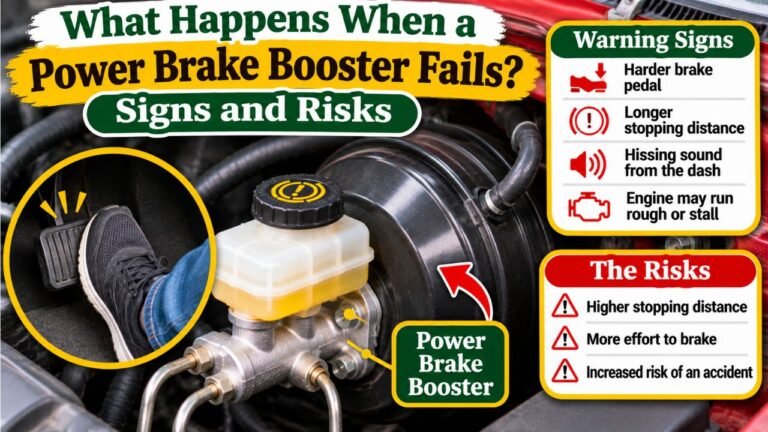
A hard brake pedal is the most recognizable symptom. The driver may need unusually high force to slow the vehicle, especially during repeated stops or while idling. This is different from a spongy pedal, which more often points toward a hydraulic issue such as trapped air or fluid loss.
Other possible clues include a continuous hissing sound near the pedal or booster, changing engine idle when the brake is applied, and little or no pedal movement during the engine-start test. These symptoms overlap with other faults, so confirm the vacuum supply and hydraulic condition rather than guessing.
Brake warning lights, longer stops, changing pedal feel, or fluid leaks require prompt attention. Stop driving and arrange qualified inspection or towing.
Can You Improve Brake Assist When Engine Vacuum Is Low?
The first priority is correcting faults, not adding equipment. Repair a leaking hose, replace a failed check valve, and diagnose weak engine or pump vacuum before considering modifications.
On a modified vehicle with a performance camshaft, a properly engineered auxiliary vacuum pump or compatible brake-assist system may be an option. The choice depends on booster size, vehicle weight, brake hardware, controls, and applicable requirements. A vacuum reservoir can store available vacuum, but it cannot manufacture vacuum when the source is consistently inadequate.
Avoid setting a universal target such as 20 inHg and treating every lower number as an automatic failure. The best solution is the one that meets the vehicle-specific pressure and pedal-performance checks without compromising hydraulic braking or safety systems.
FAQs About How Much Vacuum Brake Booster
Is 15 inHg Enough for a Brake Booster?
It may meet a minimum diagnostic checkpoint for some conventional systems, but it is not guaranteed to provide normal assist on every vehicle. Compare the actual reading with the factory requirement and pedal-performance tests.
Does a Brake Booster Need 20 Inches of Vacuum?
Not always. Around 18–21 inHg is a commonly cited operating range, but certain boosters and test procedures use other values. The applicable service manual is the deciding reference.
How Much Vacuum Should a Booster Have at Idle?
Many conventional systems show approximately 18–21 inHg at the supply during the specified idle test. Your reading may differ with engine design, altitude, pump operation, and test location.
Can a Bad Brake Booster Cause Low Engine Vacuum?
Yes. An internal booster leak or failed valve can become an intake vacuum leak on manifold-fed systems, sometimes causing rough idle or hissing. However, low engine vacuum can also originate elsewhere.
Will Brakes Still Work if Booster Vacuum Is Lost?
A conventional vacuum-assisted system normally retains a mechanical connection to its hydraulic brakes, but substantially greater pedal force may be required. Do not assume the vehicle can stop normally; avoid driving until the fault is repaired.
Match Brake Booster Vacuum to the Vehicle’s Actual Requirement
When determining how much vacuum brake booster systems need, use 18–21 inHg as a helpful general reference, not a universal pass-or-fail number. Some diagnostics begin at 15 inHg, while manufacturer tests may specify their own target conditions.
Measure vacuum at the proper supply point, then check that the booster delivers assistance and holds its reserve. A normal gauge reading cannot rule out a leaking booster, and a low reading does not automatically condemn one.
If the pedal is hard, the system leaks, or braking feels different from normal, correct the underlying fault and confirm operation using the vehicle’s service procedure before returning it to the road.