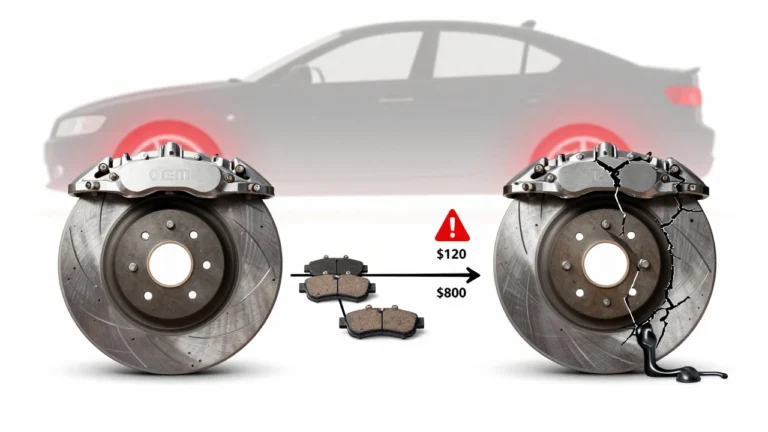
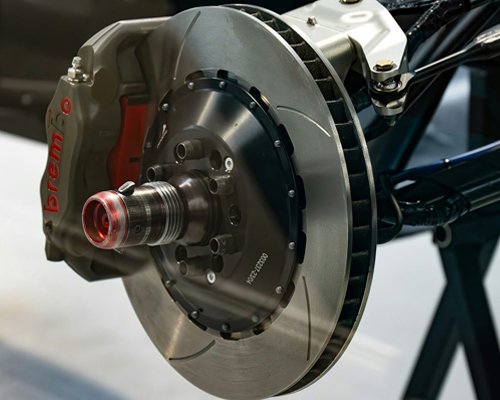
Do You Need to Prime Brake Calipers Before Painting: Overview
Usually, you should prime brake calipers before painting when the surface has bare metal, corrosion, or a coating that needs extra adhesion. Primer is not always mandatory, but it can help the caliper paint bond properly, resist corrosion, and produce a more even finish.
If you are asking, do you need to prime brake calipers before painting, the practical answer is: prime them when the substrate is exposed, rough, repaired, or uncertain. If the existing finish is sound and the new paint system is specifically designed to go over it, primer may be optional.
When Primer Is Necessary
Primer is most important when painting involves bare metal. A cleaned brake caliper may have exposed cast iron or aluminum after rust removal, sanding, blasting, or stripping. Paint can adhere directly to some metals, but a compatible primer generally provides a more reliable foundation.
Use primer when the caliper has any of these conditions:
- Bare metal exposed after sanding or media blasting
- Surface rust that has been fully removed
- Deeply pitted or uneven areas that need a consistent base
- Old paint that is peeling, chalky, or poorly bonded
- Body filler or metal repairs on the caliper housing
- An unknown previous coating that may not accept the new paint
Primer is also useful when changing from a dark caliper to a bright color. A suitable light-colored primer can make the final color more uniform and reduce the number of topcoats needed.
When Primer May Be Optional
Primer may not be required over a factory coating or other finish that is firmly attached, clean, and lightly abraded. Some brake caliper paint kits are formulated as direct-to-metal or direct-to-existing-coating products. The manufacturer’s instructions determine whether a separate primer is recommended.
Even in that situation, skipping primer is not the same as skipping preparation. The existing coating must be free of brake dust, grease, silicone, loose paint, and corrosion. It should also have enough surface texture for the new coating to grip.
A direct-to-metal caliper paint can sometimes be applied without a separate primer if the product specifically allows it. That convenience does not make ordinary automotive spray paint suitable for the job. Brake calipers operate in a hot, dirty environment, so the coating must be rated for that application.
Why Caliper Primer Matters
Brake caliper primer performs several functions. It helps the topcoat adhere to metal, seals freshly prepared surfaces, and provides additional protection against moisture and corrosion. It can also make small differences in the surface less visible beneath the final color.
Primer does not make a poorly prepared caliper durable. If oil, brake fluid, rust, or loose coating remains underneath, the primer and paint can lift together. A strong finish depends more on cleaning and surface preparation than on adding extra coats.
Primer also does not repair major corrosion or structural damage. A caliper with serious pitting, cracks, damaged threads, or a leaking seal requires mechanical attention before cosmetic painting. Paint should never be used to hide a safety-related defect.
Choose the Right Primer
Use a primer that is compatible with both the caliper surface and the intended topcoat. The label should identify it as suitable for metal and, where applicable, for high-temperature automotive or brake-component use. The primer and caliper paint should be part of a compatible coating system whenever possible.
Metal-Specific Primer
For exposed steel or cast iron, a corrosion-resistant metal primer may be appropriate if the product instructions permit use on brake calipers. For aluminum, choose a primer designed to bond to aluminum or other nonferrous metal. A general-purpose household primer may not provide the required adhesion or temperature resistance.
High-Temperature Compatibility
Brake caliper paint is exposed to heat generated during braking. The primer must tolerate the service conditions stated by its manufacturer and remain compatible with the topcoat during heating and cooling cycles. Do not assume that a primer advertised as “high heat” is automatically suitable for every caliper paint.
Follow the product’s instructions for mixing, recoat time, curing, ventilation, and maximum temperature. Applying a high-temperature topcoat over an incompatible primer can cause wrinkling, softening, bubbling, or peeling.
Prepare the Calipers First
Preparation determines whether primer and paint stay attached. The caliper should be removed or positioned so every painted area can be cleaned and coated without contaminating brake components.
Before applying anything, protect or remove parts that must not receive paint. Keep paint away from the following areas:
- Brake pads and pad contact surfaces
- Brake rotor friction surfaces
- Piston faces, piston boots, and dust seals
- Bleeder screws and their openings
- Brake hose fittings and threaded connections
- Slide pins, guide surfaces, and hardware mating points
- Rubber components and areas that must move freely
Painting over a rotor or pad contact area can reduce braking performance. Paint around a bleeder screw or fitting can interfere with service and may conceal a leak. If the caliper remains on the vehicle, use careful masking and do not rely on a thin piece of tape to protect an exposed opening.
Clean and Degrease
Remove loose brake dust, dirt, grease, and corrosion before sanding. Use a cleaner that is safe for the caliper and compatible with the materials being cleaned. Brake cleaner is commonly used for removing contamination, but the surface must be completely dry before primer is applied.
Do not saturate rubber seals, boots, or other sensitive components with a solvent unless the component manufacturer allows it. Avoid using oily cleaners or products that leave a silicone residue. Even a small amount of contamination can cause fisheyes, craters, or poor adhesion.
Remove Loose Coating and Rust
Wire-brush or sand away loose paint and rust. The goal is a firm, stable surface, not necessarily a perfectly bare caliper. Any remaining coating should be tightly bonded, feathered at its edges, and compatible with the new primer or paint.
Heavy corrosion may require more aggressive cleaning or professional restoration. Do not paint over active rust, flaking scale, or trapped debris. Once sanding is complete, remove dust and inspect the caliper under good lighting.
Scuff Sound Existing Paint
If the old coating is sound, lightly abrade it so the new coating has a mechanical bond. Avoid sanding through the old finish unnecessarily. If sanding exposes metal, treat those exposed areas according to the primer instructions.
After the final cleaning, avoid touching the surface with bare fingers. Skin oils can interfere with adhesion, especially on smooth areas that were just prepared.
Apply Primer Correctly
Apply primer only after the caliper is clean, dry, masked, and free from loose material. Use light, even coats rather than one heavy coat. Heavy application can trap solvent, run into protected areas, or create a soft layer beneath the topcoat.
Keep the spray can or applicator moving across the surface. Coat the visible faces, edges, and recesses without flooding them. Reposition the caliper or use an appropriate brush-on product when necessary, but do not allow primer to collect around seals, threads, slide surfaces, or openings.
Allow the primer to dry and cure according to its instructions. “Dry to the touch” does not always mean ready for the final paint. Applying the topcoat too early can soften the primer or cause lifting. Waiting too long can also require additional scuffing, depending on the product’s recoat window.
Inspect the primed surface before painting. If it is rough, contaminated, or uneven, correct the defect rather than covering it with more product. A light scuff and cleaning may be needed if the primer has cured beyond its specified recoat period.
Apply Caliper Paint
Use a brake caliper coating or another product specifically approved for the application. Ordinary decorative paint may discolor, soften, or peel under repeated brake heat. Follow the coating instructions for the number of coats, flash time, and final cure.
Several thin coats generally provide better control than one thick coat. Thin layers reduce runs and help the coating cure consistently. Do not apply paint to friction surfaces, moving interfaces, or protected hydraulic openings.
Color coverage can look uneven during the first coat. That is normal for many finishes. Allow each coat to reach the instructed stage before applying the next one. Rushing between coats can trap solvent and weaken the final film.
Curing and Reassembly
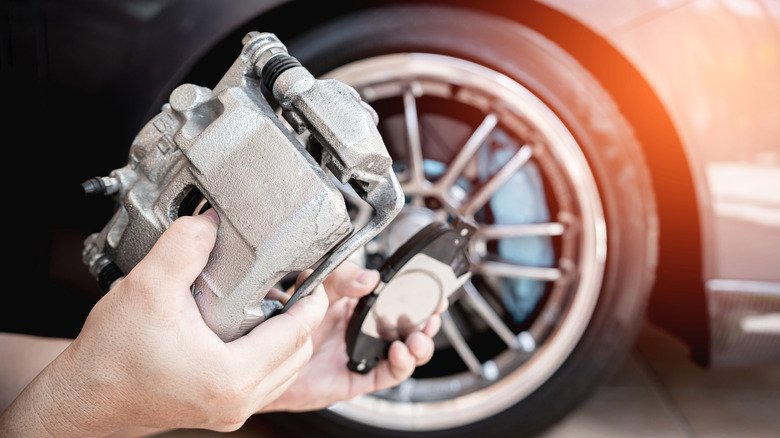
Caliper paint needs sufficient curing time before the brakes are put back into service. The coating may feel dry while remaining soft underneath. Reinstalling parts, rubbing against the caliper, or driving before the stated cure time can damage the finish.
Respect the product’s full cure instructions, including any requirement for air curing or controlled heat. Do not deliberately overheat the brakes to “bake” the paint unless the coating manufacturer provides a specific procedure. Excessive heat can damage seals, boots, brake fluid, or other components.
Before reassembly, remove masking carefully and confirm that no paint has entered a threaded hole, bleeder opening, pad seat, slide-pin bore, or rotor contact area. Reinstall all hardware correctly and inspect the brake system for leaks or interference.
After the work is complete, the brake pedal should feel normal, the wheel should rotate as expected, and the painted caliper should not contact the rotor or wheel. Any abnormal noise, fluid leak, warning light, or change in pedal feel requires inspection before normal driving.
Common Mistakes to Avoid
- Painting over rust, grease, brake dust, or loose paint
- Using household primer or ordinary paint without checking compatibility
- Applying primer over wet solvent or trapped moisture
- Spraying the rotor, pads, piston, bleeder, or slide surfaces
- Applying thick coats that run or remain soft
- Mixing products with conflicting application or curing requirements
- Reassembling or driving before the coating has cured
- Using paint to conceal a leaking, cracked, or damaged caliper
The most common reason a caliper finish fails is inadequate preparation. Primer can improve adhesion and corrosion resistance, but it cannot bond reliably to contamination or unstable old paint. A clean, properly abraded surface is essential whether the chosen product requires primer or is designed to be applied directly.
Conclusion
So, do you need to prime brake calipers before painting? Not always, but primer is the safer choice for bare metal, corrosion-prone surfaces, repairs, and questionable old coatings. Use a compatible caliper-paint system, prepare the surface thoroughly, protect every braking and hydraulic contact area, and allow the finish to cure fully before returning the vehicle to service.