How to Know If Brake Pads Need Replacing Motorcycle: Explained
Brake pads on a motorcycle wear differently depending on riding style, bike weight, and conditions, so a single mileage figure is rarely a reliable guide. The most accurate way to know if brake pads need replacing is to inspect the remaining friction material thickness, but you should also pay attention to specific sounds and changes in lever feel that indicate the pads are nearing the end of their service life.
This article explains the practical inspection methods, the warning signs that appear before metal contacts metal, and the conditions that can make your pads wear faster or slower than expected. I will also cover the differences between front and rear pad wear, why brake dust matters, and when a pad that looks fine on the outside still needs immediate attention.
The Limitation of Universal Advice
Most general maintenance rules tell you to replace brake pads every 10,000 to 15,000 miles, but that advice fails in real-world riding. A lightweight sport bike ridden on smooth highways can easily see 20,000 miles on a set of pads, while a heavy adventure bike used for off-road trails might wear out a front set in under 4,000 miles. The same model of motorcycle can produce wildly different pad lifespans depending on whether the rider uses engine braking frequently or relies almost entirely on the brake levers.
The real problem is that brake pads do not wear at a steady rate. The last few millimeters of material disappear quickly once the pad gets thin, because heat transfers more efficiently through the backing plate and accelerates the breakdown of the remaining friction compound. Checking your pads only during an oil change can miss this rapid final phase, leaving you with metal-on-metal contact before the next scheduled service.
How to Inspect Brake Pad Thickness Correctly
The most direct method for knowing if brake pads need replacing is a visual check of the friction material. Look at the caliper from the side where the brake disc enters it. You should see the metal backing plate and the pad material pressed against the rotor.
The friction material is the darker layer between the backing plate and the disc surface.
Minimum Thickness Standards
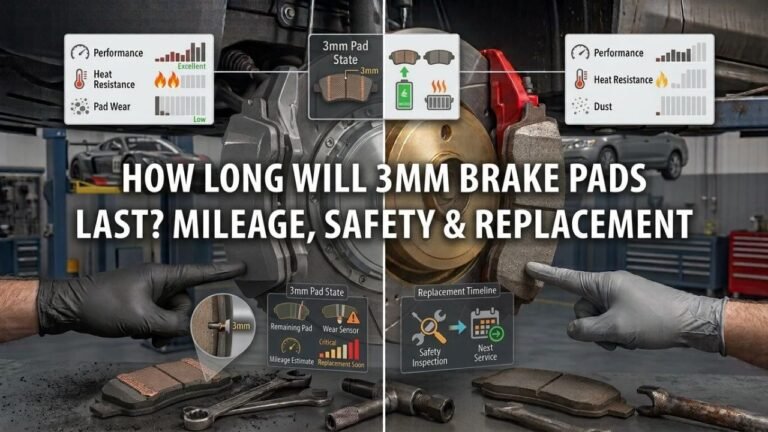
Most motorcycle brake pads start with about 8 to 10 millimeters of friction material when new. The service limit is typically 2 to 3 millimeters of material remaining. At 3 millimeters, you should start planning a replacement soon.
At 2 millimeters, the pad is at the legal minimum in most states and should be replaced immediately.
The critical detail is that you must measure only the friction material, not the backing plate. The backing plate is usually 3 to 4 millimeters thick on its own, so if you glance at the pad and see roughly 5 millimeters total thickness, the actual friction material may already be at the replacement point. Always look for the groove or slot in the middle of the pad if your bike has one.
When that groove is no longer visible, the pad has reached its wear limit.
Using a Flashlight for Accuracy
Park the motorcycle on a level surface and turn the handlebars to one side to access the front caliper. A flashlight helps you see the pad edge clearly. Shine the light parallel to the disc surface so you can distinguish the backing plate from the friction material.
If you cannot see the pad material clearly, remove the caliper for a direct measurement. Caliper removal is straightforward on most bikes, requiring only two bolts, but be careful not to squeeze the brake lever while the caliper is off because the pistons will pop out.
Audible Warning Signs That Indicate Replacement
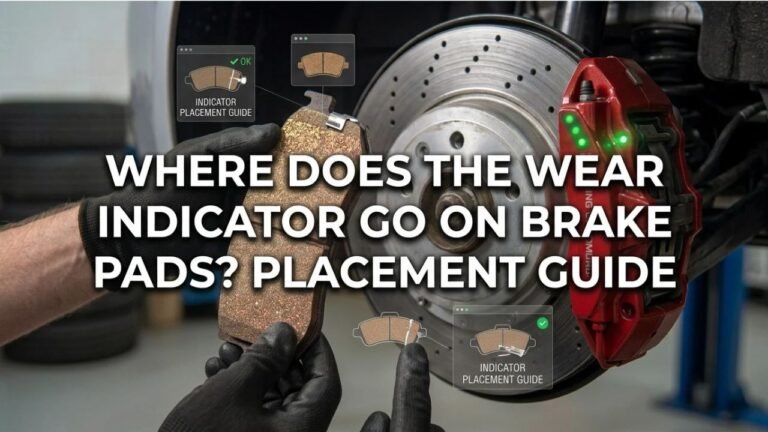
Your ears provide an early warning system that visual inspection cannot match. Many brake pads come with a small metal wear indicator tab that contacts the rotor when the friction material is nearly gone. This produces a high-pitched squeal or chirping sound when you apply the brakes.
The sound is intentionally annoying so you cannot ignore it.
Squealing Without the Wear Indicator
Not all squealing means the pads are worn out. Some semi-metallic and sintered pads squeal when cold or when moisture is present. If the squeal disappears after a few stops, the pads are likely fine.
However, a constant squeal that changes pitch with brake pressure usually indicates the wear indicator is touching the rotor.
Grinding and Metal-on-Metal Contact
A deep grinding or scraping noise means the friction material is completely gone. The backing plate is now pressing directly against the brake disc. This condition damages the rotor surface, requiring either rotor resurfacing or replacement.
If you hear grinding, do not ride the motorcycle until the pads are replaced and the rotor is inspected for damage.
Changes in Lever Feel and Brake Performance
Brake pads affect how the lever feels through the hydraulic system. As the friction material wears thinner, the brake fluid must travel further to push the pistons outward. This often results in a brake lever that feels spongy or travels closer to the handlebar before engaging.
The Spongy Lever Distinction
A spongy lever can also indicate air in the brake lines or low brake fluid, so you need to rule out those causes first. If the brake fluid reservoir is full and the system has been recently bled, a lever that gradually sinks closer to the bar over several weeks points to pad wear. The pistons are extending further to compensate for the thinner pad material.
Reduced Braking Power
You may notice that you must squeeze the lever harder to achieve the same stopping force. This happens because the pad material has become thin enough that heat builds up faster, causing the brake to fade during repeated stops. If you find yourself braking earlier than usual or pulling the lever harder in traffic, inspect the pads before assuming the problem is in the hydraulic system.
Front vs. Rear Pad Wear Differences
Motorcycle braking physics places far more demand on the front brake. Under hard braking, weight transfers forward, increasing traction on the front tire and allowing the front brake to provide up to 70 to 80 percent of the stopping force. This means front pads typically wear two to three times faster than rear pads.
Why the Rear Pad Lasts Longer
The rear brake is used primarily for stabilization, slow-speed maneuvering, and gentle speed reduction. Many riders rarely use the rear brake aggressively, so rear pads can last 20,000 miles or more. However, if you ride a cruiser or tour bike with linked braking, the rear pad may wear faster because the system applies the rear brake automatically when you use the front lever.
Checking Both Ends Regularly
Always inspect both front and rear pads at the same time. The front pads on the left and right side of the same wheel can wear unevenly if the caliper pistons are sticking or if the slide pins are corroded. If one pad is significantly thinner than the other, the caliper needs servicing, not just a pad replacement.
Brake Dust and Its Role in Wear Assessment
The color and amount of brake dust on your wheels provides a useful clue about pad condition. Organic pads produce dark gray or black dust that accumulates quickly on the front wheel. Sintered pads produce lighter, rust-colored dust that is less visible.
If you notice a sudden decrease in brake dust, the pads may be nearly worn out because there is less friction material left to shed.
Dust as a Wear Indicator
A clean front wheel after several hundred miles of riding can mean the pads are too thin to generate normal dust. This is not a definitive test, but it is a useful observation between formal inspections. If your wheels used to get dirty quickly and now stay clean, check the pad thickness before your next ride.
Conditions That Accelerate Pad Wear
Understanding what makes pads wear faster helps you predict when replacement is needed. Aggressive riding that involves late braking at high speeds generates significant heat, which accelerates pad material loss. Stop-and-go city riding also wears pads quickly because you are constantly applying the brakes from low speeds.
Riding in Wet or Dirty Conditions
Water and road grime act as abrasives between the pad and rotor. Riding in heavy rain or on dirt roads will wear pads faster than dry highway riding. The friction material is designed to shed water, but the process of wiping the rotor clean with each revolution removes pad material more quickly.
The Weight of the Motorcycle
A heavier motorcycle requires more braking force to stop, which increases pad wear. A fully loaded touring bike with luggage and a passenger can wear front pads nearly twice as fast as the same bike ridden solo. If you frequently ride two-up or carry heavy loads, shorten your inspection interval.
When a Pad That Looks Fine Needs Replacement
There are situations where a pad has plenty of friction material but still needs to be replaced. Glazing occurs when the pad surface becomes hard and shiny from excessive heat. A glazed pad will not provide adequate braking friction even though it looks thick.
You can sometimes restore a glazed pad by sanding the surface lightly, but replacement is the safer option.
Contaminated Pads
Brake pads that have been exposed to brake fluid, chain lube, or oil are permanently damaged. The friction material absorbs these fluids, which reduces its ability to grip the rotor. A contaminated pad may look fine but will cause poor braking performance and potentially dangerous fade.
If you suspect contamination, replace the pads and clean the rotor thoroughly.
Uneven Pad Wear
If the pad material is thicker at one end than the other, the caliper is not applying pressure evenly. This uneven wear pattern indicates a sticking piston or a worn caliper slide. Replacing the pads without fixing the caliper will just repeat the problem, and the new pads will wear unevenly again.
The Final Inspection Before Every Long Ride
A quick pad check should become part of your pre-ride routine, especially before long trips or track days. Look at the pad thickness through the caliper, listen for unusual noises during your first brake application, and note any change in lever feel. These checks take less than a minute and can prevent a brake failure at speed.
If you are unsure whether your pads need replacement, remove the caliper and measure the friction material with a caliper or ruler. When in doubt, replace the pads. Brake pads are relatively inexpensive compared to the cost of a damaged rotor or an accident caused by brake failure.
Conclusion
Knowing how to tell if brake pads need replacing on a motorcycle comes down to regular visual inspection of the friction material thickness, attention to squealing or grinding noises, and awareness of changes in lever feel and braking performance. The most important limitation to remember is that mileage-based replacement schedules are unreliable because riding style, bike weight, and conditions dramatically affect pad lifespan. Check your pads when the friction material reaches 3 millimeters, replace them at 2 millimeters, and never ride with metal-on-metal contact.
Make a habit of inspecting both front and rear pads every few hundred miles, and if you notice uneven wear or contamination, address the underlying caliper issue rather than just swapping in new pads. Your brakes are the single most important safety system on the motorcycle, so when you are uncertain about pad condition, err on the side of replacement and have a professional mechanic confirm the installation if you are not comfortable doing it yourself.