How to Prep Brake Calipers for Paint: A Complete DIY Guide
Learning how to prep brake calipers for paint starts with understanding that preparation matters more than the paint itself. A bright color will not last if the surface still has brake dust, oil, rust, or loose material. Many DIY projects fail because the owner rushes the cleaning stage.
From years of working around vehicle detailing and brake upgrades, one lesson stands out: a clean caliper creates a strong foundation. Whether you drive a daily commuter, truck, or weekend performance car in the U.S., careful prep helps the finish handle heat, road grime, and normal wear.

Why Proper Brake Caliper Preparation Matters Before Painting
Before learning how to prep brake calipers for paint, it helps to know why each step matters. Brake calipers sit near extreme heat, brake dust, moisture, and road debris. These conditions can quickly damage a poor-quality paint job.
A well-prepared surface allows paint to stick evenly. It also reduces problems like bubbling, cracking, and flaking. Good preparation takes more time, but it saves effort later.
- ✦ Better paint adhesion
A clean and roughened surface gives primer and paint a stronger grip.
- ✦ Longer-lasting finish
Removing contaminants helps prevent early peeling and damage.
- ✦ Professional appearance
Smooth preparation creates cleaner edges and better color coverage.
Common Problems Caused by Poor Preparation
Skipping basic prep often leads to paint failure. Brake dust can trap moisture under paint, while grease can stop paint from bonding. Rust spots may also continue spreading beneath the new coating.
- ✦ Peeling paint
Usually happens when the surface is dirty or too smooth.
- ✦ Uneven color
Often results from leftover contamination or poor sanding.
Gather the Right Tools and Supplies for Caliper Prep
A successful brake caliper paint project begins with the right supplies. You do not need a professional shop, but you do need tools that remove dirt and create a clean surface.
For most home garages in the U.S., a basic setup is enough. Choose products made for automotive use and follow all safety instructions on the labels.
- ✦ Cleaning supplies
Use brake cleaner, degreaser, brushes, microfiber towels, and clean water when appropriate.
- ✦ Surface preparation tools
Sandpaper, wire brushes, and abrasive pads help remove rust and smooth rough areas.
- ✦ Protection materials
Use masking tape, plastic covers, gloves, and eye protection.
Choosing Brake Caliper Paint Products
Use paint designed for high temperatures. Regular household paint may soften or fail when exposed to braking heat. A quality primer can also improve durability and finish quality.
- ✦ High-temperature coating
Designed to handle heat produced during braking.
Step-by-Step: How to Prep Brake Calipers for Paint
The best way to learn how to prep brake calipers for paint is to follow a simple process. Each stage prepares the metal for the next one. Skipping steps usually creates weak results.
Work slowly and keep the area clean. A careful approach gives a smoother finish than trying to complete the project quickly.

- ✦ Step 1: Clean the calipers
Remove loose brake dust and dirt before using stronger cleaners.
- ✦ Step 2: Remove grease and residue
Apply brake cleaner or degreaser to eliminate oily contaminants.
- ✦ Step 3: Sand the surface
Create a slightly rough texture so primer and paint can bond.
- ✦ Step 4: Remove dust
Wipe away sanding particles before applying coatings.
Cleaning Brake Dust and Road Grime
Brake dust is one of the biggest challenges during preparation. It can collect in small corners and create problems under fresh paint. Use brushes that can reach tight areas around the caliper body.
- ✦ Deep cleaning
Spend extra time on hidden areas where dirt collects.
Sanding for Better Paint Adhesion
Sanding does not mean removing large amounts of metal. The goal is to remove loose material and create a surface texture that helps paint hold.
- ✦ Smooth rough areas
Remove flaking rust and old coating before painting.
How to Mask Brake Components Before Painting
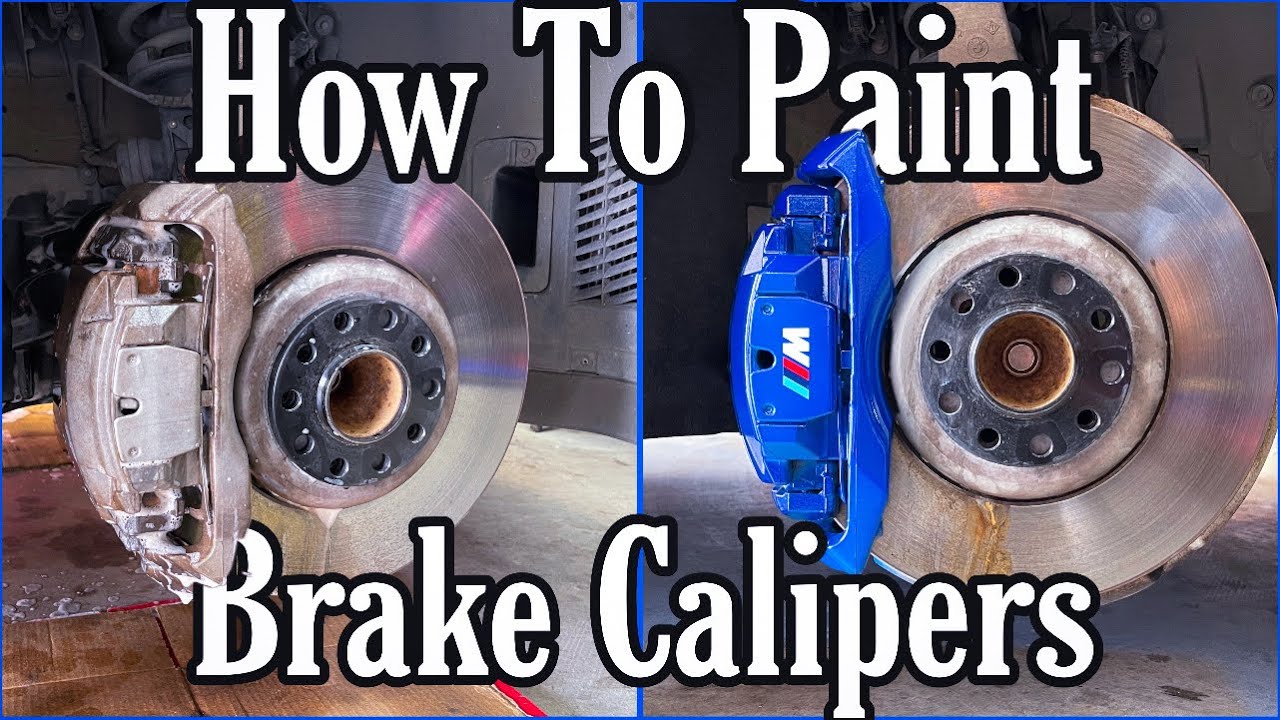
Masking is an important part of how to prep brake calipers for paint because some areas should never receive paint. Brake pads, rotors, rubber seals, and hydraulic parts need protection.
Good masking creates sharp edges and keeps important brake surfaces clean. Take extra time here because overspray mistakes can be difficult to fix.
- ✦ Cover brake rotors
Prevent paint from reaching the friction surface.
- ✦ Protect rubber parts
Keep seals and boots away from harsh chemicals and coatings.
Removing or Leaving Calipers Installed
Some owners remove calipers for easier access, while others paint them while installed. Removal can improve access but requires more mechanical knowledge. Keeping them installed can work when masking is done carefully.
- ✦ Removed calipers
Offer better coverage and easier cleaning.
- ✦ Installed calipers
Save time but require careful protection.
Priming and Final Surface Checks Before Paint
After cleaning, sanding, and masking, inspect the calipers one more time. The surface should feel clean and dry before primer goes on.
Primer helps create a strong base layer. It can improve coverage and help the final color look more even.

- ✦ Check for contamination
Look for grease, dust, or moisture before painting.
- ✦ Apply thin coats
Thin layers reduce runs and improve durability.
Final Inspection Checklist
A final check prevents small mistakes from ruining the finish. Make sure every surface you want painted is clean, dry, and ready.
- ✦ Surface condition
The caliper should have no loose rust or old peeling paint.